Lease an MMS compatible virtual number
You can request an MMS compatible number here or reach out to the support team at helpdesk@burstsms.com
Open the MMS module
There are two ways to open the MMS module:
1. Clicking the MMS link in the header menu
2. Clicking the 'Send MMS' link on a contact list. If you open the MMS module this way, the contact list will be selected for you

Create your MMS
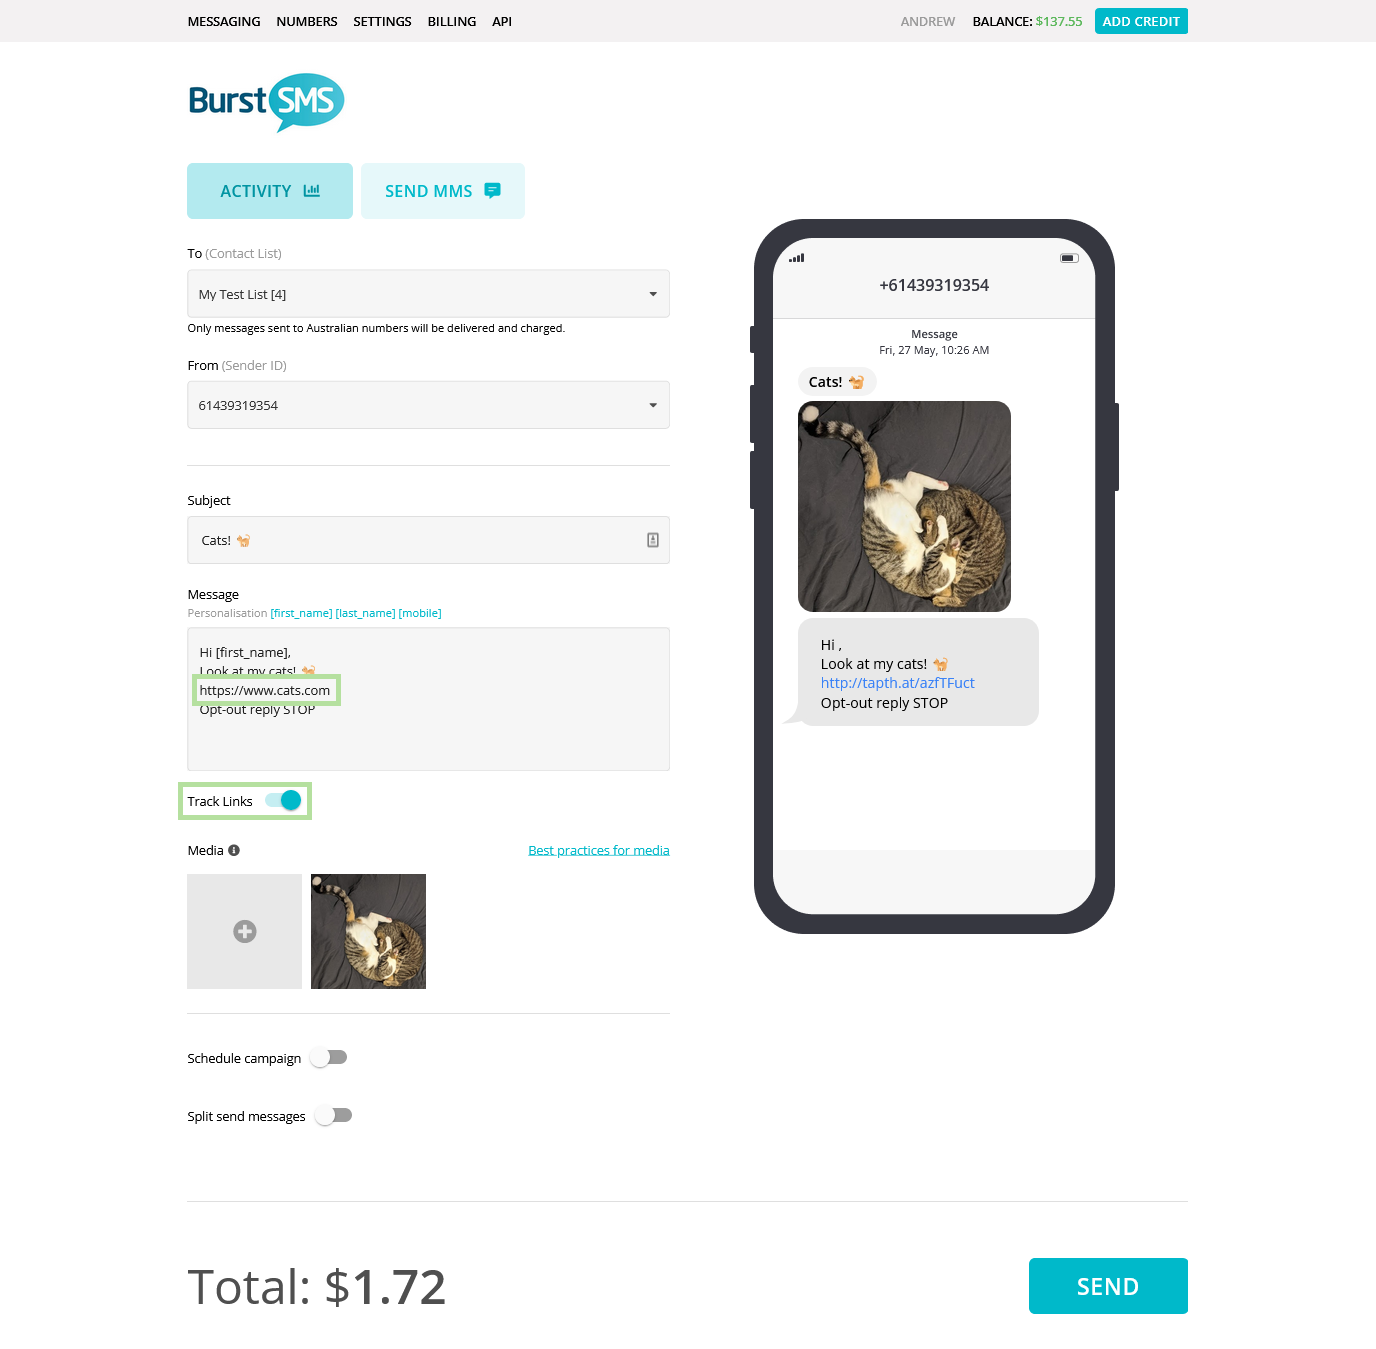
1. Select the Contact List of recipients in the 'To' field
If you used method 2 to open the MMS module, then the corresponding contact list will already be selected

2. Select your MMS enabled virtual number in the From field
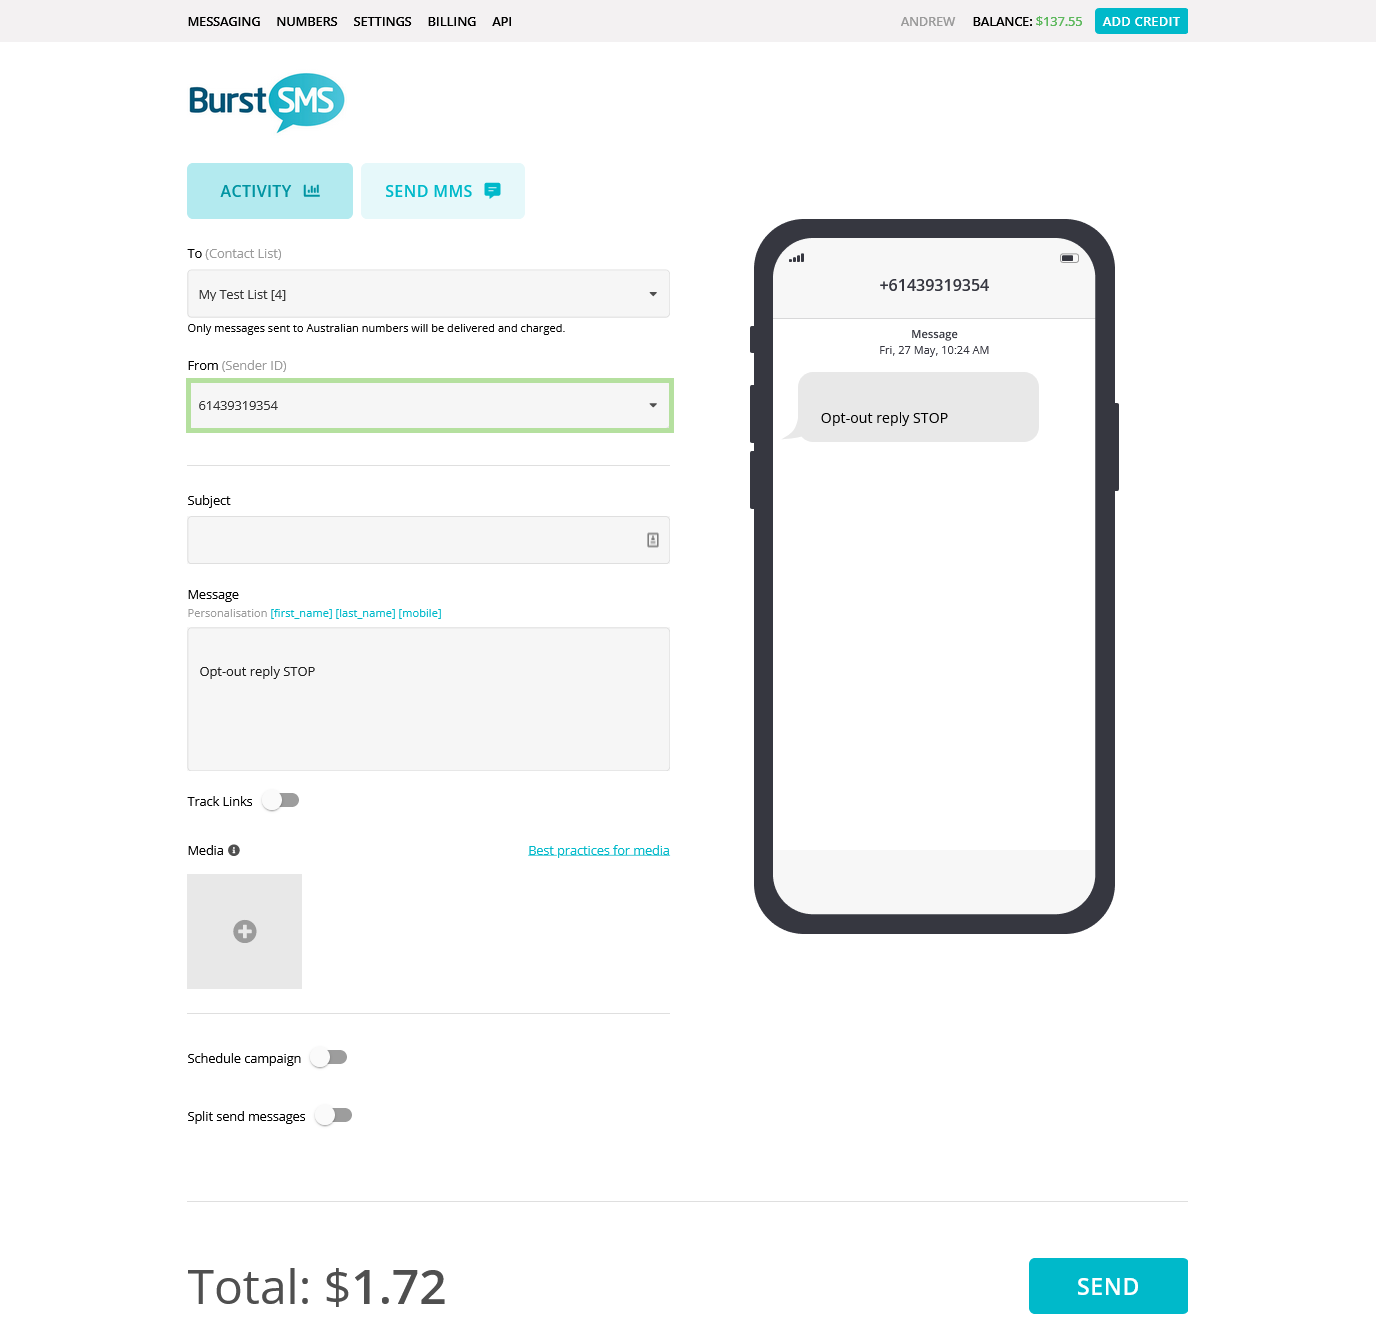
3. Add a subject line (optional)
This can be up to 20 characters long, with letters, numbers, punctuation and emoji's.
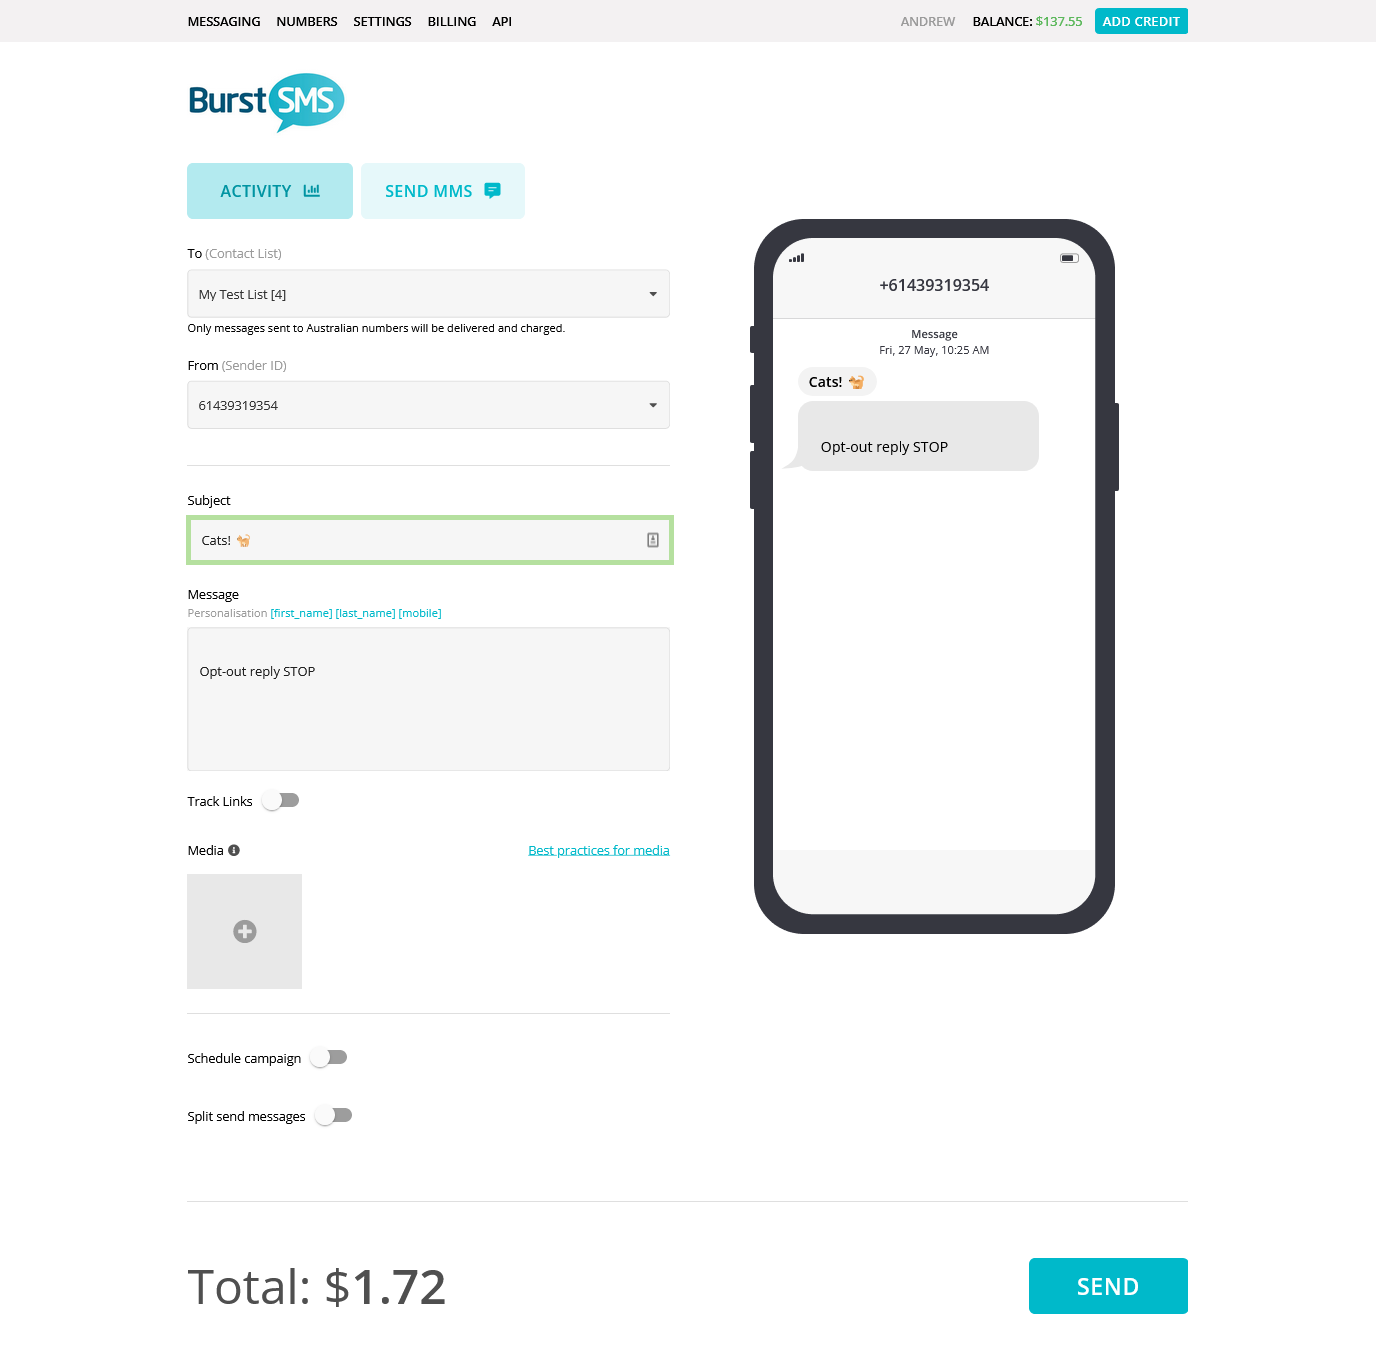
4. Insert your message copy (optional).
This can be up to 1,000 characters long, with letters, numbers, punctuation and emoji's.
You can use the custom fields in the contact list for personalizing the message.
MMS supports sending just the media file, so subject and message are optional.
Be a responsible sender. Read our Anti-Spam Policy if you're unsure you have permission.
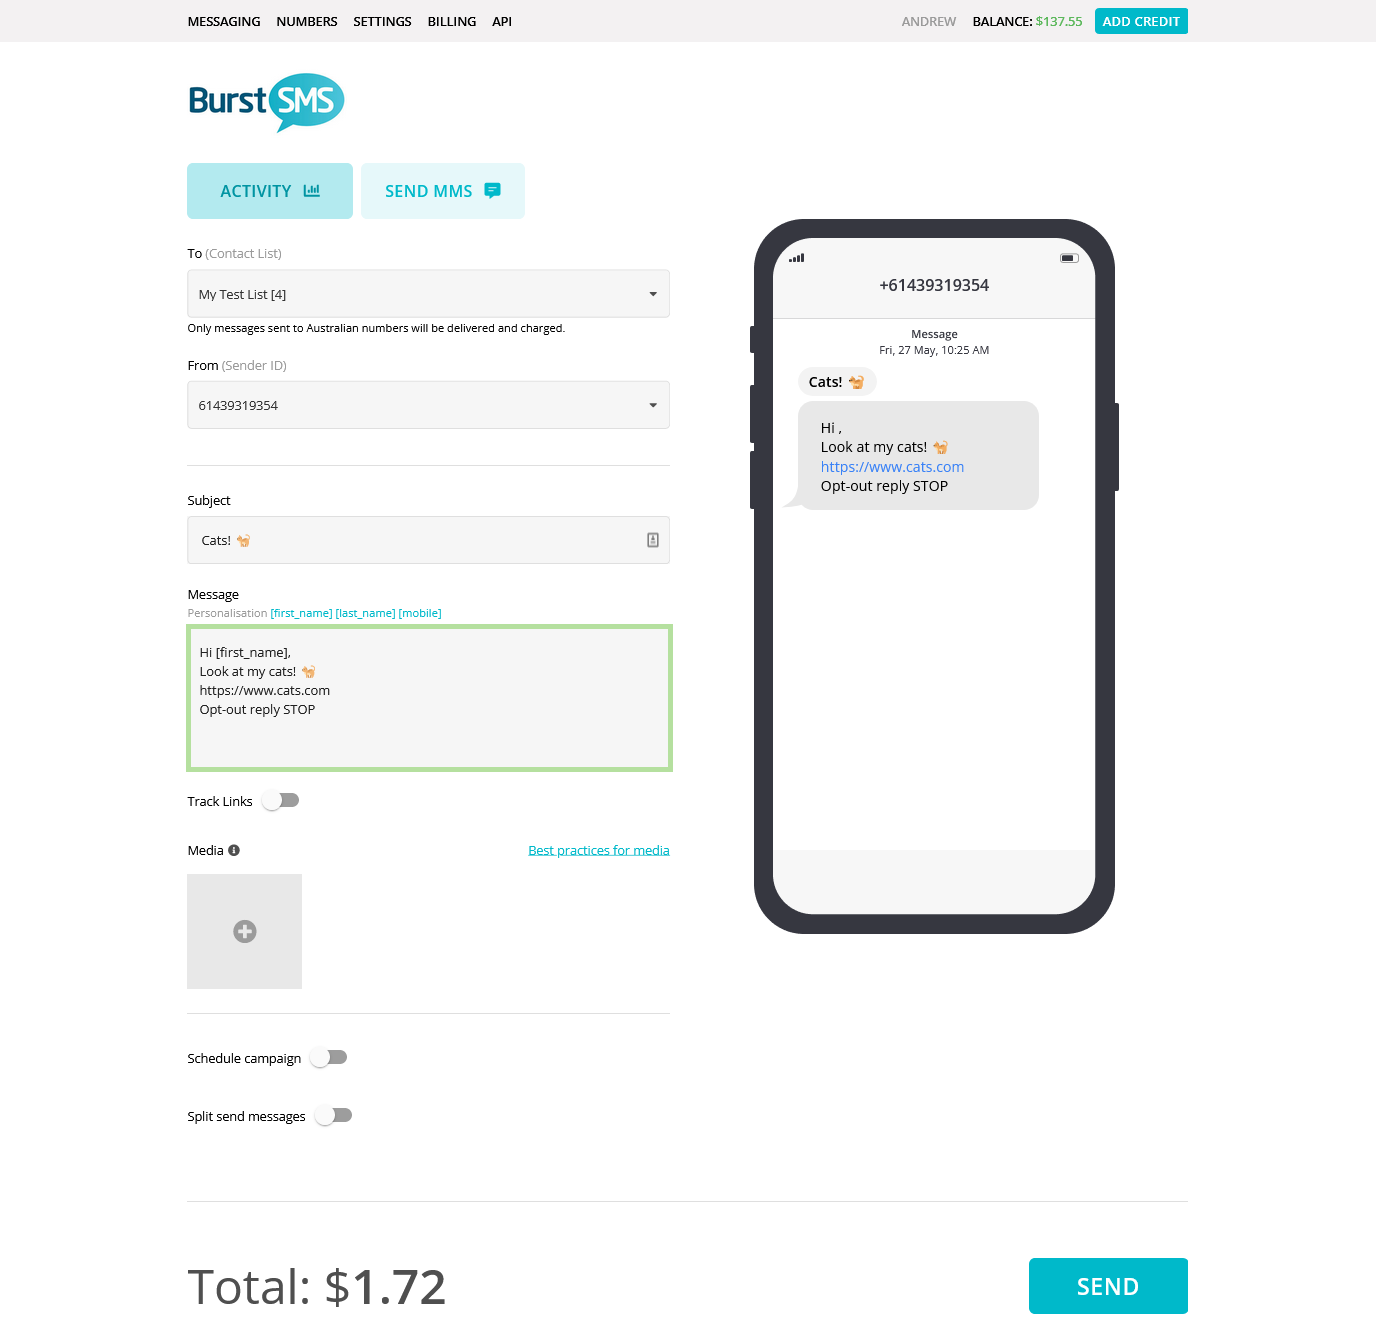
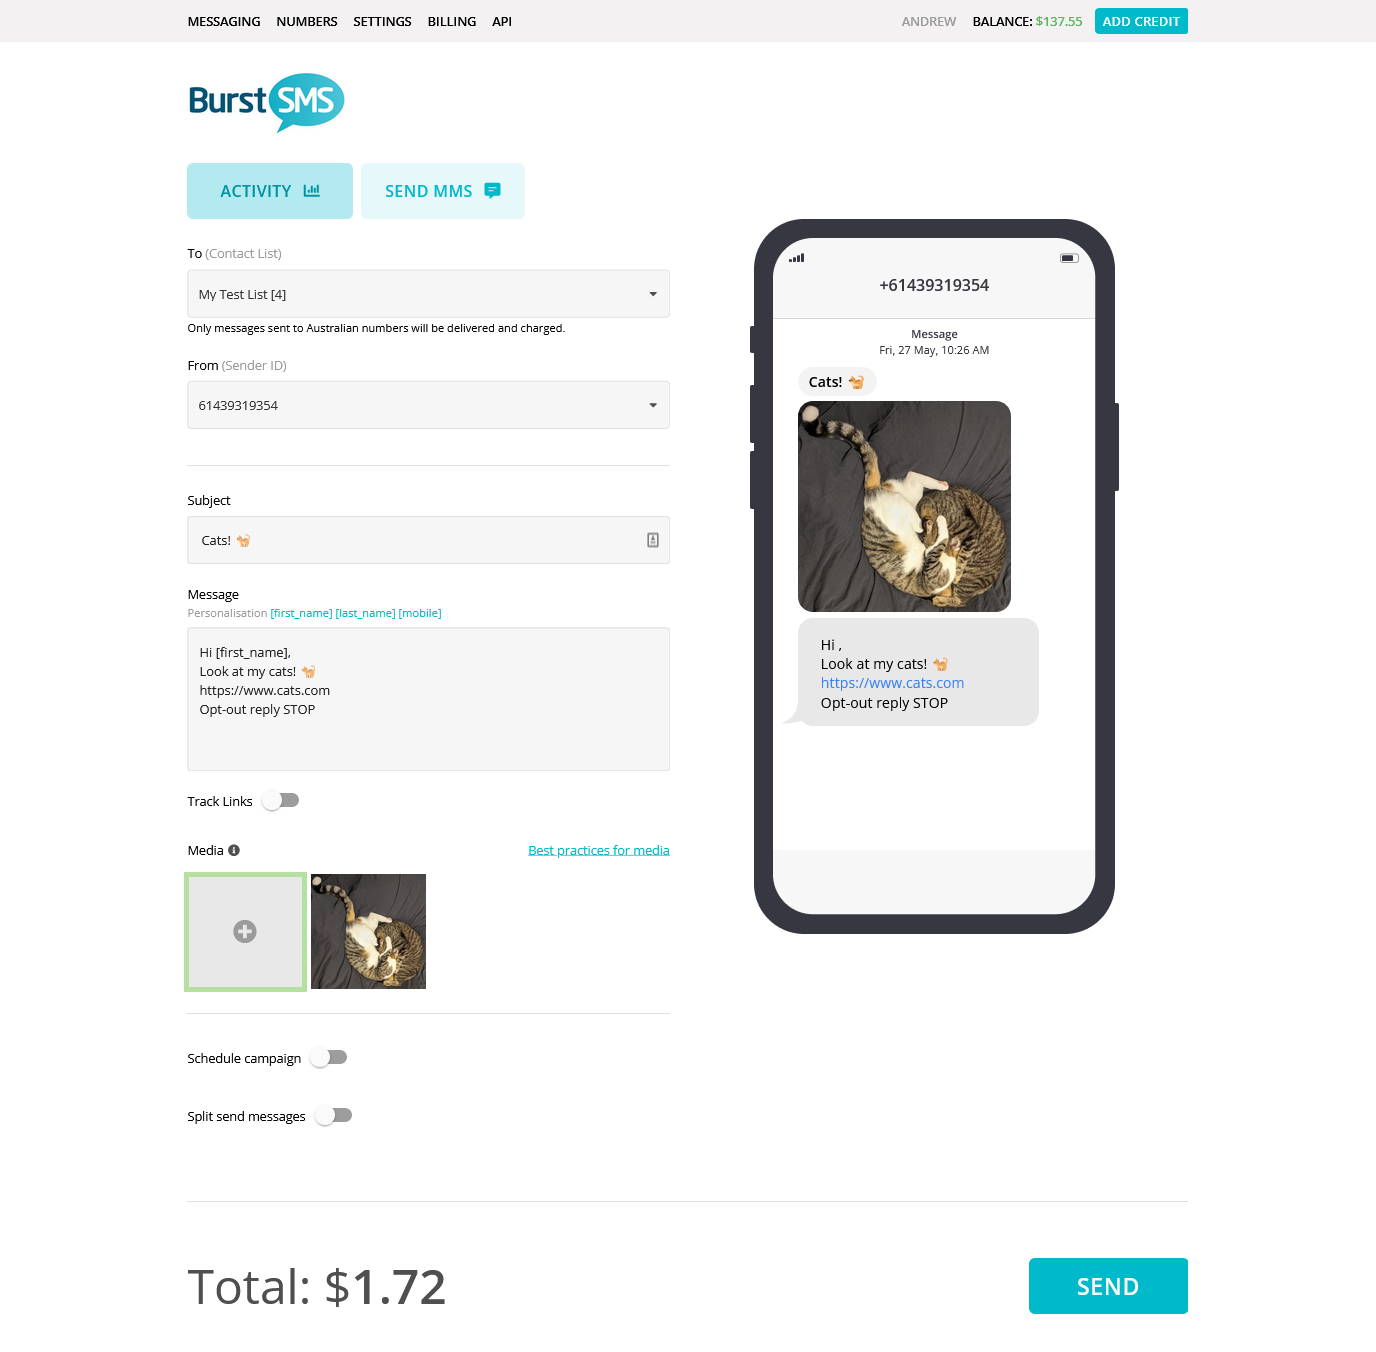
5. Attach your media file
We support gif (including animations), jpg, jpeg, png, mp4 and mpeg4.
The maximum size of the media file is 450 kb.
If you would like to change the media file, you can click on the grey box again.
6. Track link hits
If you include one or more ULR's in your message, you can track the number of times a customer opens the link.
All you need to do is type the URL in the message field and then toggle 'Tracked Links' on. Our system will then detect any URL with 'https' in the message body, shorten it and track the number of times they have been opened. You can find the number of times the links have been opened in the MMS Activity screen.
Key information:
- The URL must contain https, not http
- The URL will always be shortened
- You can use multiple URL's
Schedule the send
Toggle the 'Schedule campaign' button and select the date and time to send.
The time zone will be the same as your account setting.

Split your send
The campaign can be split, so as to send in separate segments. You can choose the amount of segments and the delay between segments.
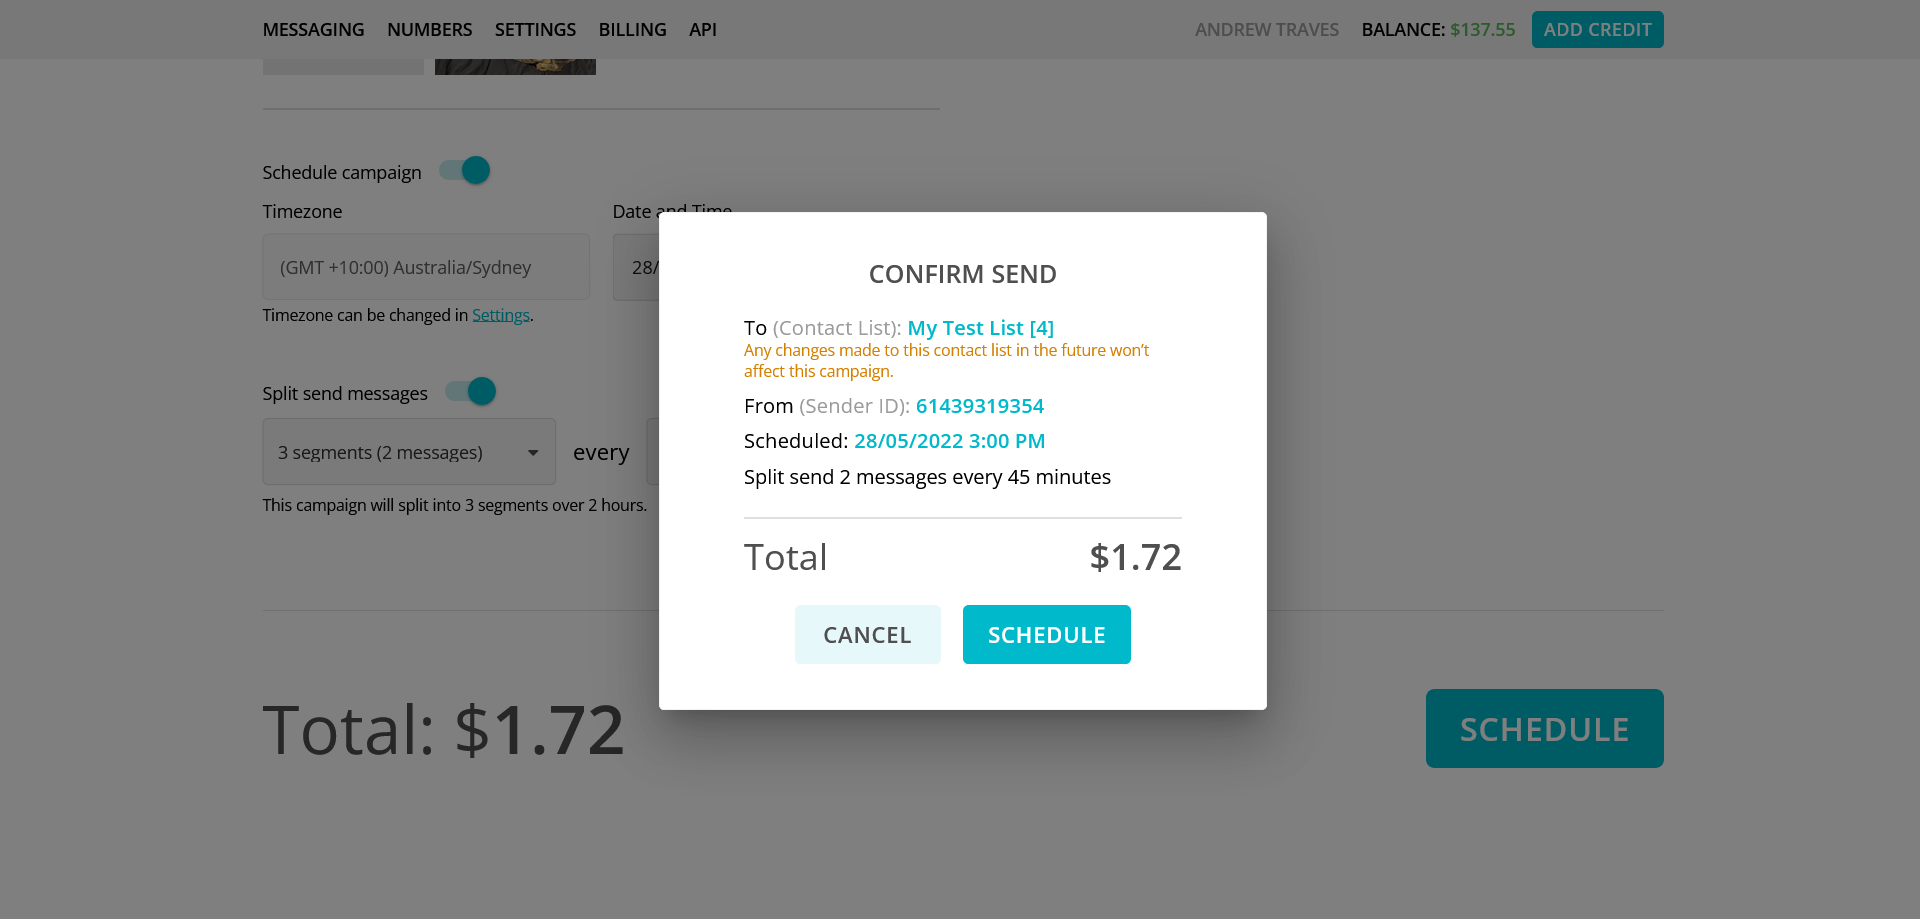
Example: You wish to send to a contact list of 12 people, scheduled to send at 3 pm tomorrow. You wish to split your send to 3 batches, sent every 45 minutes. This will result in the first 4 MMS being sent at 3pm, the next 4 MMS sent at 3:45 pm and the final 4 MMS sent at 4:30 pm.

Confirm Send
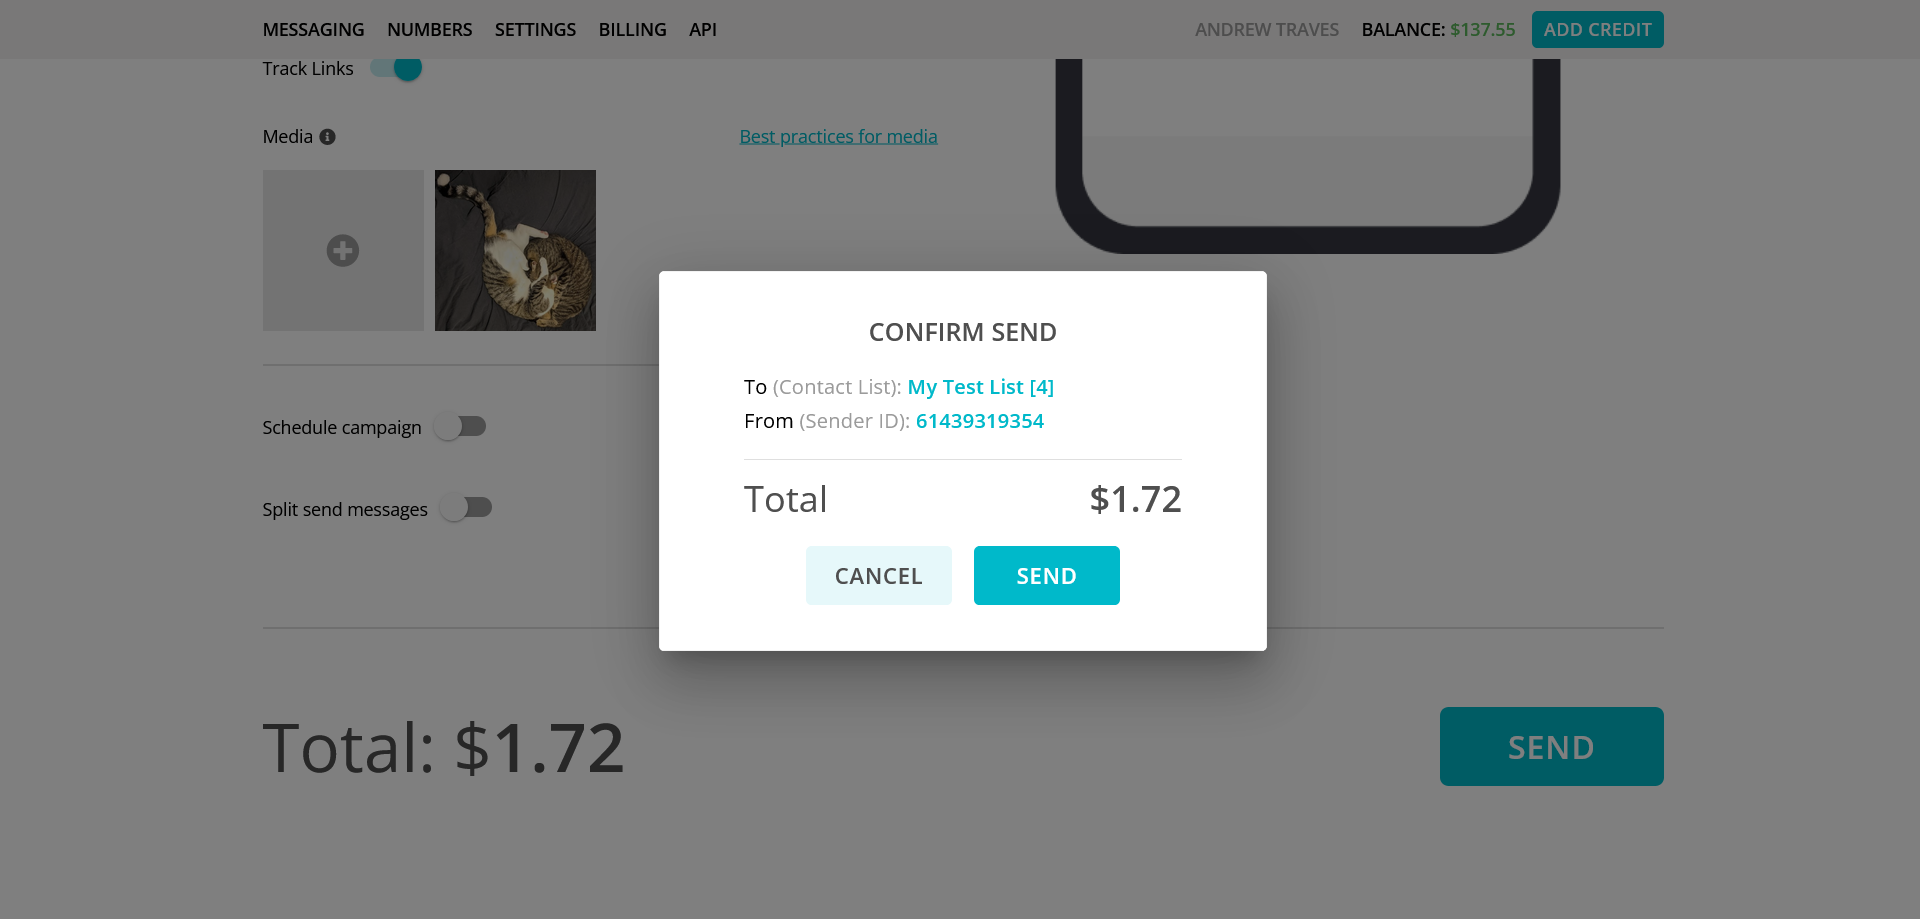
When you press the Send button a pop-up will appear with a summary of the MMS and the cost before you complete the send.
If you have scheduled and\or split the send, this will be included in the confirmation summary.
If you do not have enough credit for the send, a link is available to go to the billing screen to add more credit.

If you have any questions or issues, please do not hesitate to reach out to the support team at helpdesk@burstsms.com or via the chat tool.
