Use this Zapier integration to automatically send your Google calendar appointments via SMS. Zapier allows you to sync data and integrate it between many different applications. We have added Burst SMS to its rapidly growing list.
Zapier allows you to sync data and integrate it between many different applications. We have added Burst SMS to its rapidly growing list.
Preparation
Before we dive into this Zapier integration, make sure that you have:
Burst SMS Account. We offer a 14-day free trial that you can use to test this Zapier SMS integration.
Zapier Account. (Premium)
TABLE OF CONTENTS
Step 1 - Once you login to Zapier, click MAKE A ZAP.

Step 2 - Let's give the ZAP a name by clicking on the Name your zap.

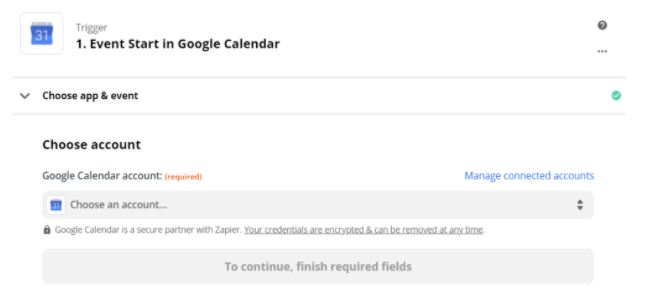
Step 3 - Click on Search apps... and enter Google Calendar

Step 4 - Select Event Start in Google Calendar from the drop-down menu.

Step 5 - Continue will be highlighted.

Step 6 - Login to your Google account by selecting Choose an account...

Step 7 - Clicking Allow will grant Zapier access to your calendar.

Step 8 - From the drop-down menu, choose your account.

Step 9 - From the Calendar menu drop-down, select your calendar.
*The Time Before options are to decide when to send the reminder.

Step 10 - Before we test the trigger, let's create a Google Calendar appointment using the customer name for the event title and phone number in the description field. Then click Save.

Step 11 - If the calendar appointment was located successfully through the Test Trigger, "We found an event!" will be displayed.
*Event needs to be aligned with the trigger. If you are setting up reminders to be sent out 1 day in advance, the appointment will need to be created in Google calendar 1 day in the future.

Step 12 - Search apps... and select the Burst SMS app.

Step 13 - Sign in to Burst SMS.

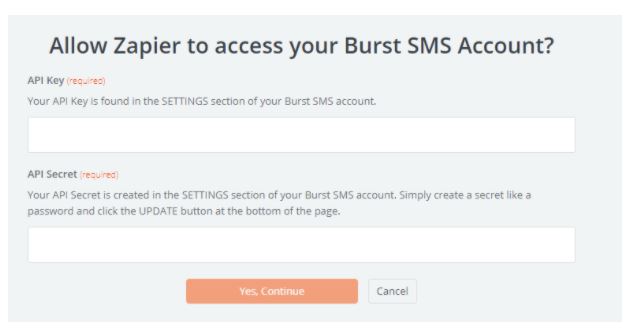
Step 14 - To grant Zapier access to your Burst account, you will need to provide your API Key + API Secret.
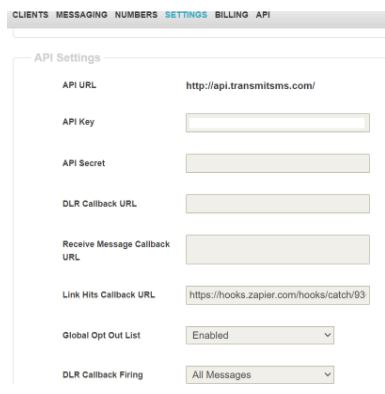
Your API Key + API Secret will be located in your Burst SMS account under settings.
*Please create an API Secret if this box is empty and save it by clicking UPDATE PROFILE at the bottom of the page.


Step 15 - Click on Choose account... If your API Key and API Secret have been entered correctly, you will see your account in the drop-down menu.

Step 16 - Burst SMS will be listed as the account, click on Continue.

Step 17 - By clicking in the Message box, it provides options to pull data from the Google appointment. As an example, you can enter a generic greeting and then click on the summary to insert the customer name.

Step 18 - Inserting Recipient Mobile Number can be derived from the Google calendar description field in the drop-down menu.
*Format the number code to country.

Step 19 - Click Test & Continue.

