Use this Zapier integration to automatically update a spreadsheet with client responses generated from predetermined survey questions. When a response is received, it triggers the next question to send out. Zapier allows you to sync data and integrate it between many different applications. We have added Burst SMS to its rapidly growing list.
Preparation
Before we dive into this Zapier integration, make sure that you have:
Burst SMS Account. We offer a 14-day free trial that you can use to test this Zapier SMS integration.
Zapier Account. Account. (Premium)
TABLE OF CONTENTS
- Configure ZAP
- Grant Zapier access
- Create Spreadsheet
- API Key + Secret
- Configure Message
- Linking 2 Zaps through Webhook
- Verify Spreadsheet
Step 1 - Once you login to Zapier, click MAKE A ZAP.

Step 2 - Let's give the ZAP a name by clicking on the Name your zap.

Step 3 - Click on Search apps... and enter Google sheets.

Step 4 - Select New Spreadsheet Row from the drop-down menu.

Step 5 - Login to your Google account.

Step 6 - Grant access to Zapier.
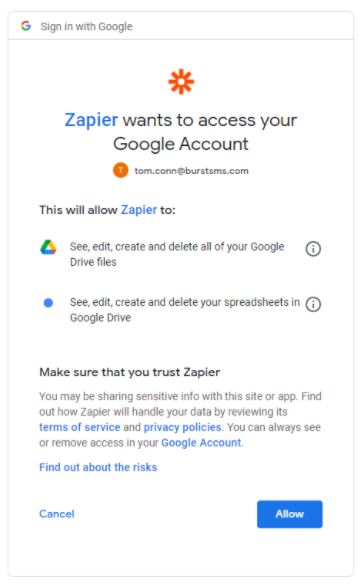
Step 7 - Select your account from the Choose an account... drop-down menu.

Step 8 - Select New Spreadsheet Row from the Trigger Event drop-down menu.
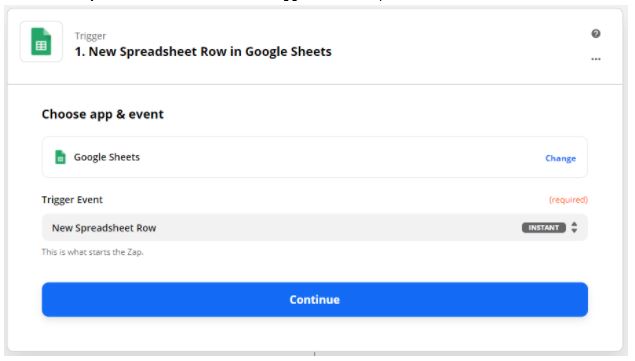
Step 9 - Choose your account.

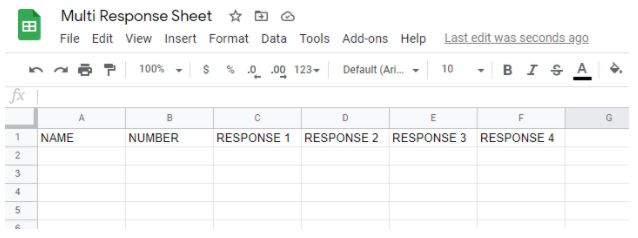
Step 10 - Create the worksheet.
*Name and number columns.
*Each SMS response will need its own column.
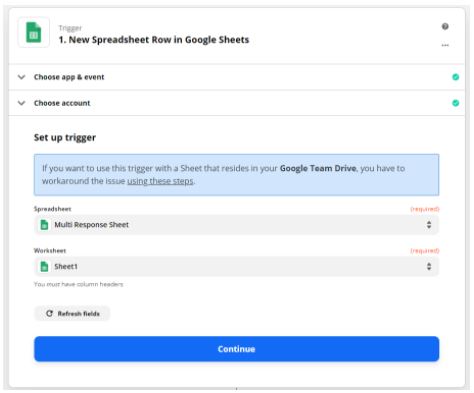
Step 11 - Select your Spreadsheet + Worksheet from the drop-down menus.
Step 12 - Test your trigger.

Step 13 - Your Spreadsheet should now be listed.
*If successful, columns containing data will be shown.

Step 14 - Search for the Burst SMS App.

Step 15 - Select Send SMS from the Action Event drop-down menu.

Step 16 - Sign in to your Burst SMS Account.

Step 17 - To grant Zapier access to your Burst Account, you will need to provide your API Key + API Secret.
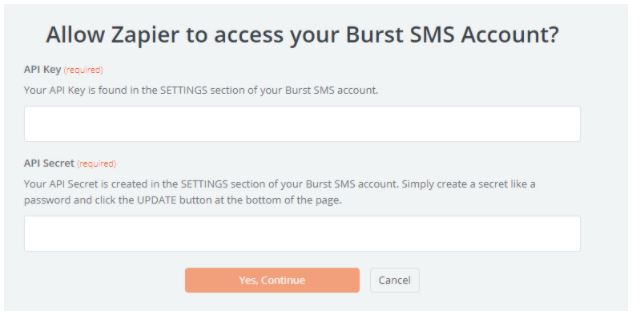
Step 18 - Your API Key and API Secret details will be located in your Burst SMS Account under Settings.
*Please create an API Secret if this box is empty and save it by clicking UPDATE PROFILE at the bottom of the page.

Step 19 - Click on Choose an account... If your API Key and API Secret have been entered correctly, you will see the account in the dropdown menu.

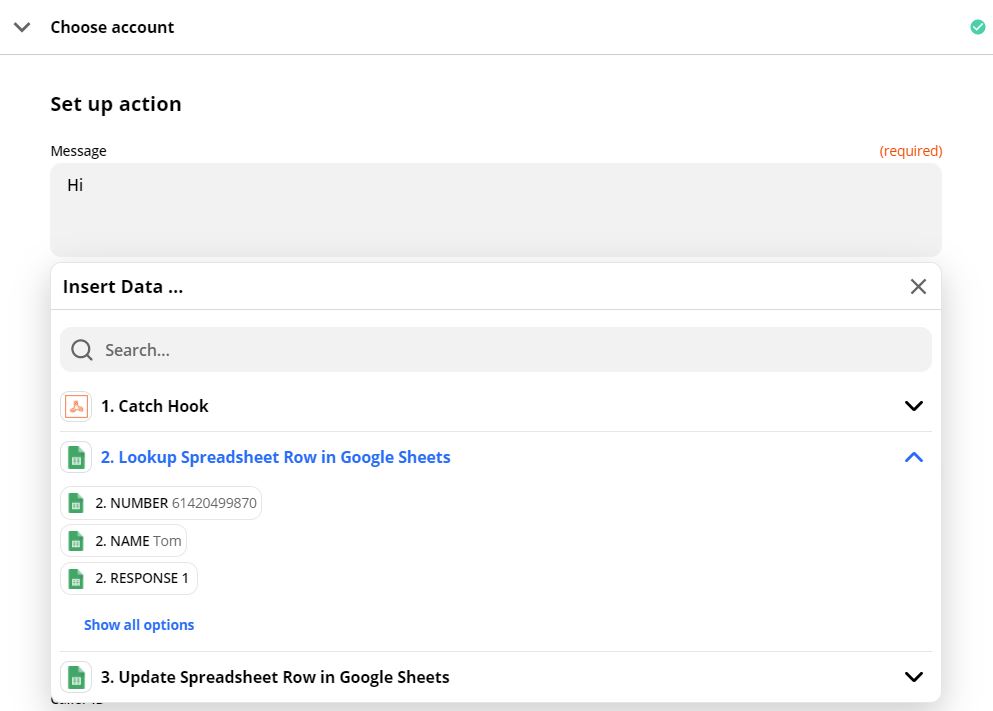
Step 20 - Set up action will allow you to insert data into the message. Click within the message box to insert the name.

Step 21 - The Recipient Mobile Number will work on the same principle, click Choose Value to retrieve the Number data column from the sheet.
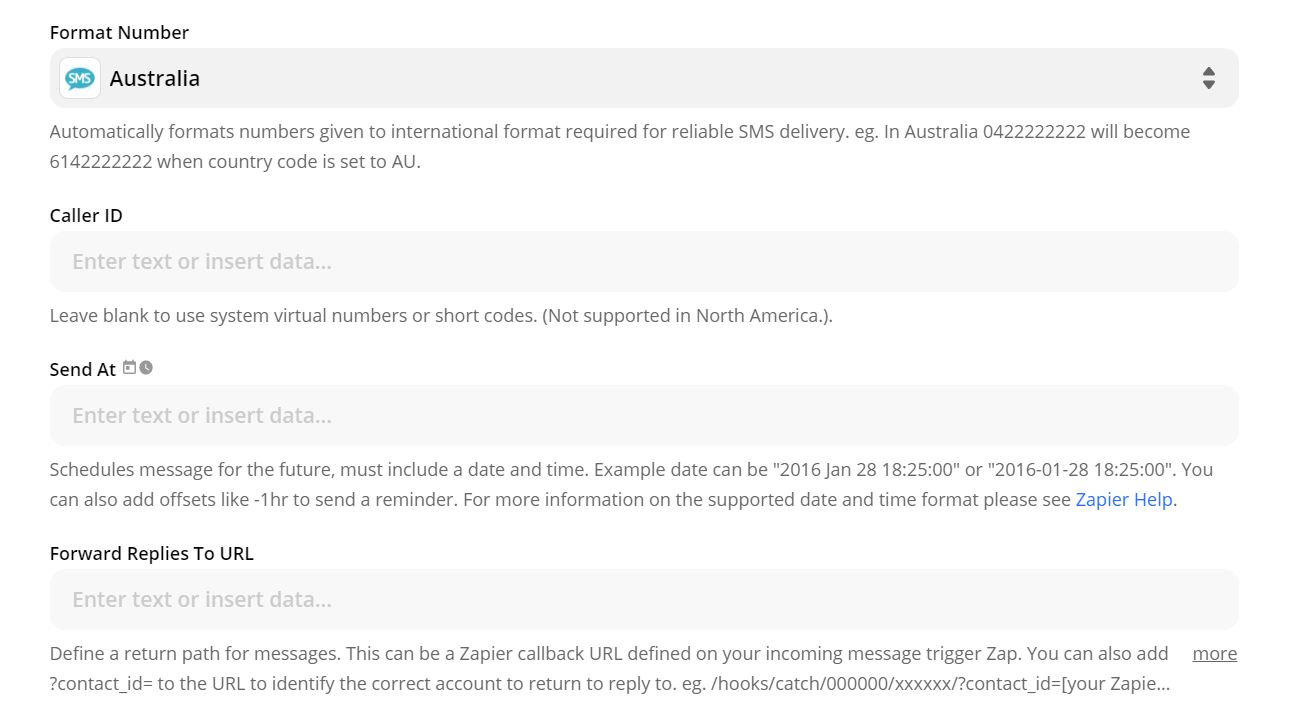
Step 22 - Format Number and Caller ID are both optional.
*Format Number convert numbers to locale.
*Caller ID will result in messages originating from the same number and not the shared pool.
Step 23 - Before we test ZAP 1, we need to create ZAP 2 to forward the SMS replies.
*Open a new tab in the browser to create a new ZAP.
(Repeat Step 1 and 2)
Search apps... for webhook.
Step 24 - Select Catch Hook from the Trigger Event drop-down menu.
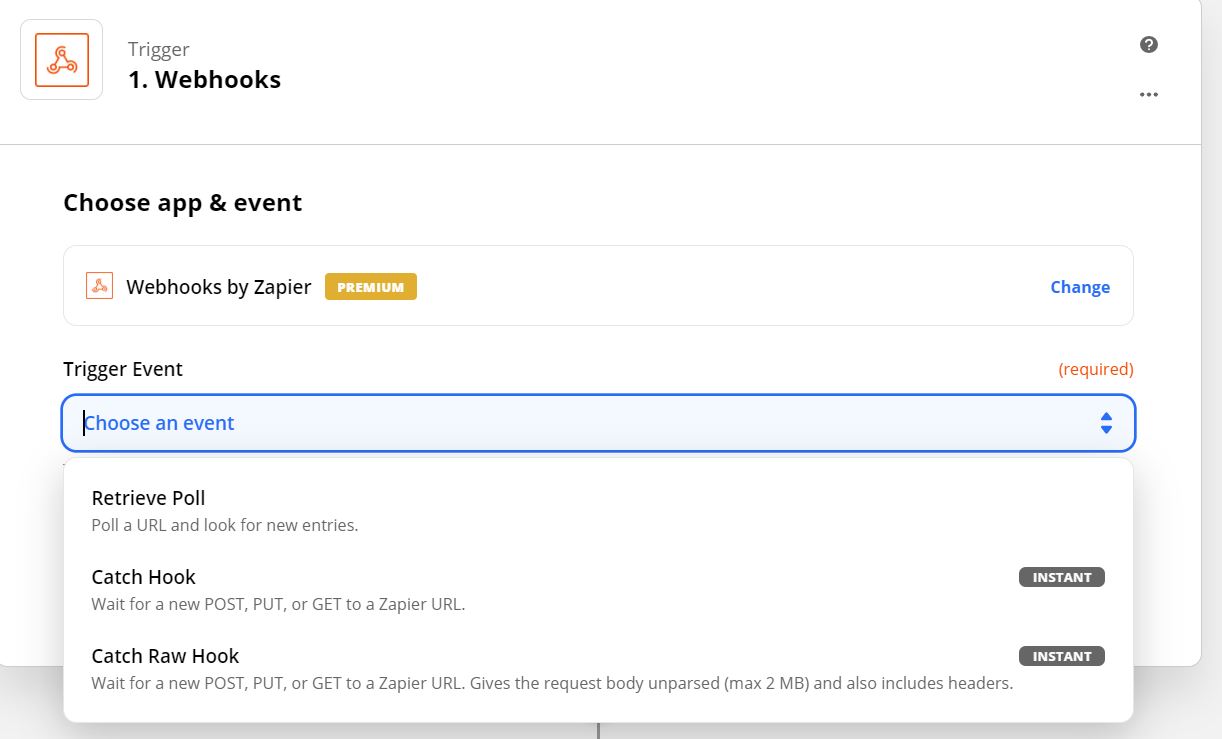
Step 24 - The Custom Webhook URL will be generated, this link needs to be copied by clicking the Copy function.

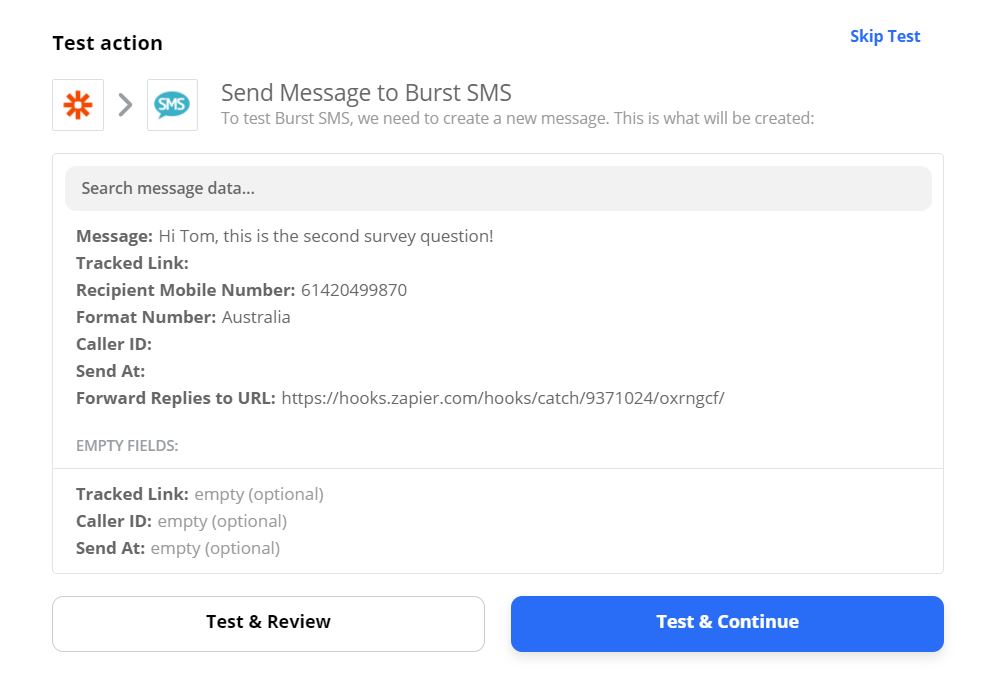
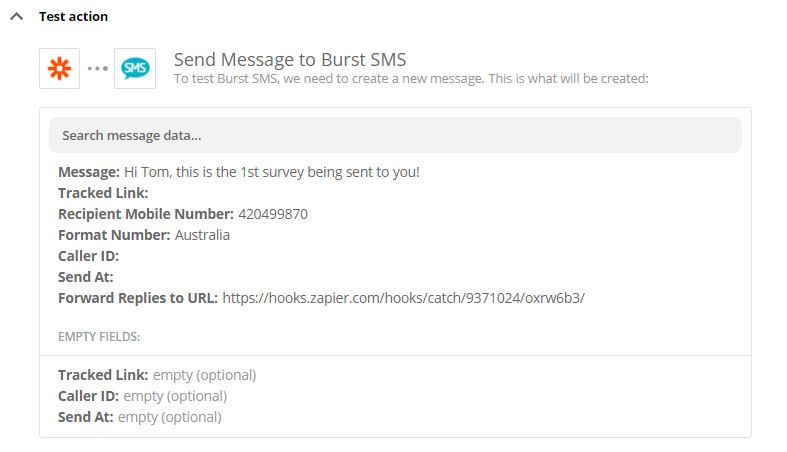
Step 25 - The link copied can now be pasted into ZAP 1 in the Forward Replies to URL field and click Continue.

Step 26 - Test & Continue will be highlighted (ZAP 1)
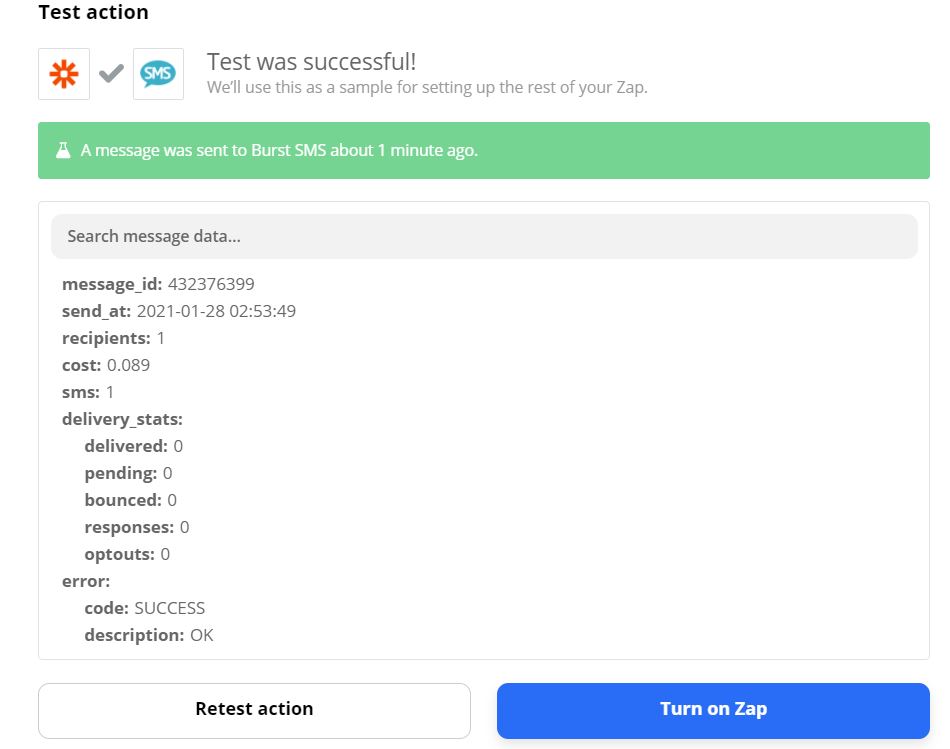
*If the test is successful, ZAP 1 is now complete.
*Turn on ZAP 1.
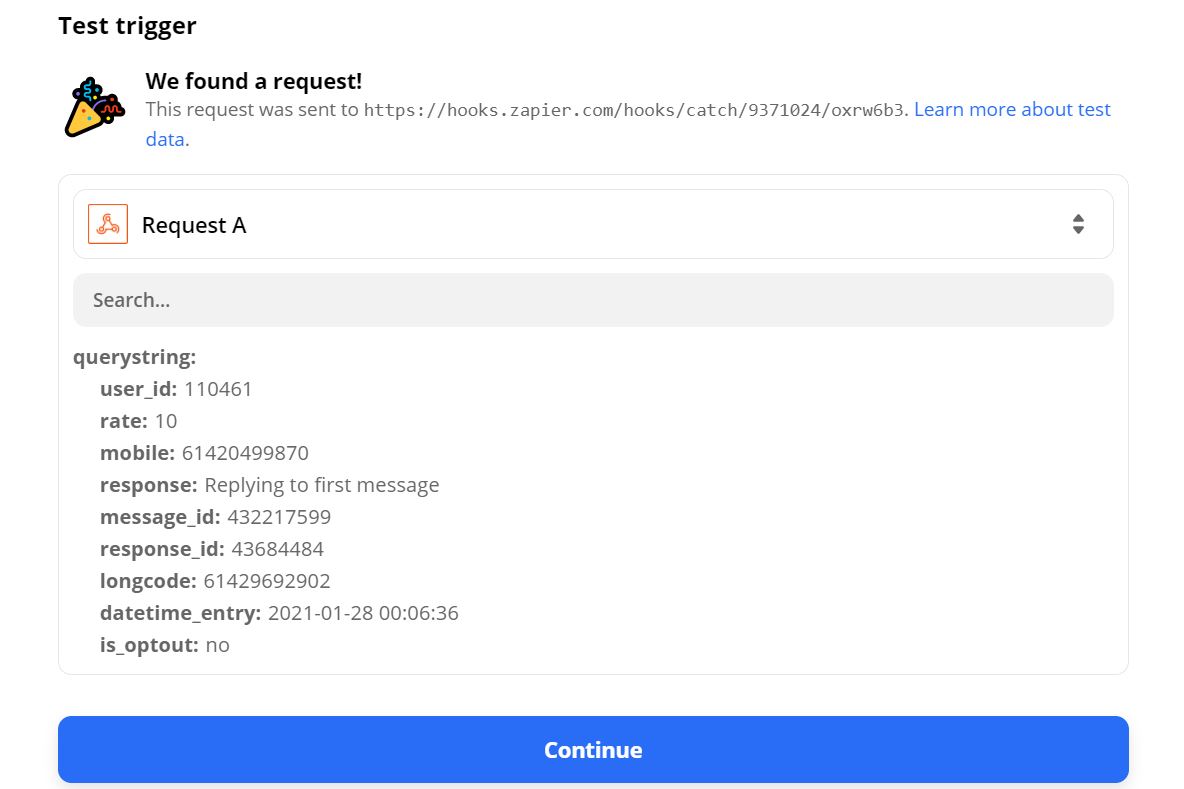
Step 27 - Send a reply to the SMS received.
Click Test Trigger (Zap 2)
*If no reply from mobile is sent, test trigger will fail.
Step 28 - Search apps... for Google Sheets.

Step 29 - Select Lookup Spreadsheet Row from the drop-down menu.
Step 30 - Choose your account.

Step 31 - Select Spreadsheet + Worksheet + Number Column.

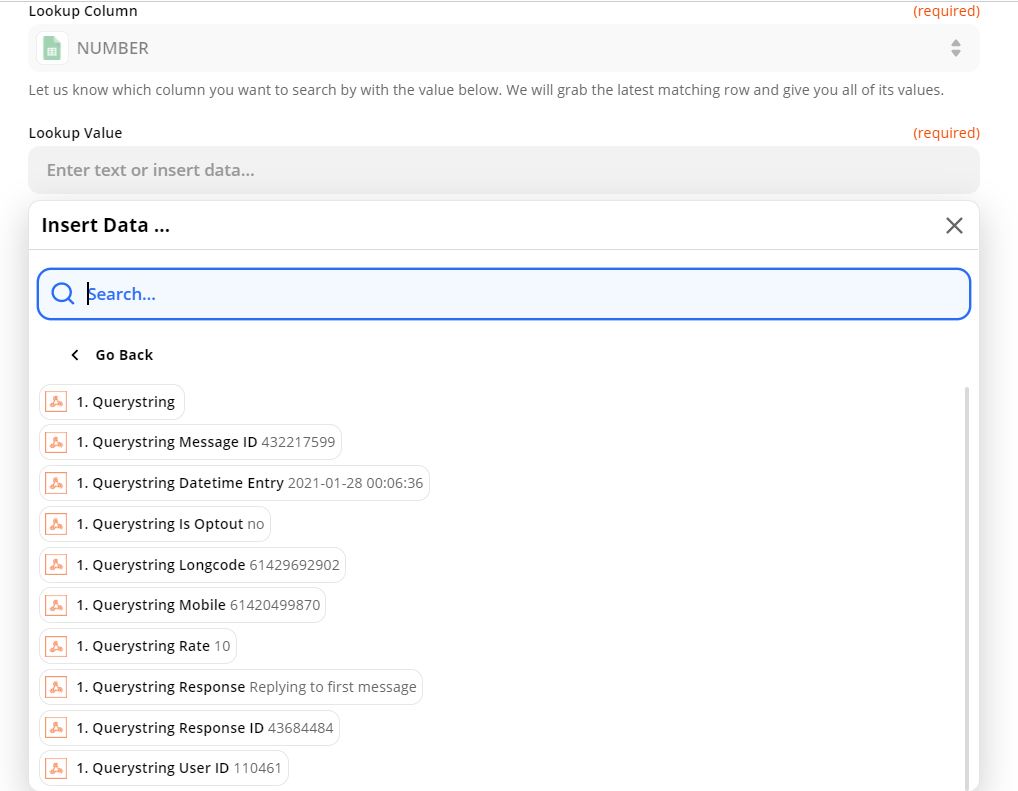
Step 32 - The Lookup Value can be inserted by clicking the insert data field and selecting Querystring Mobile.
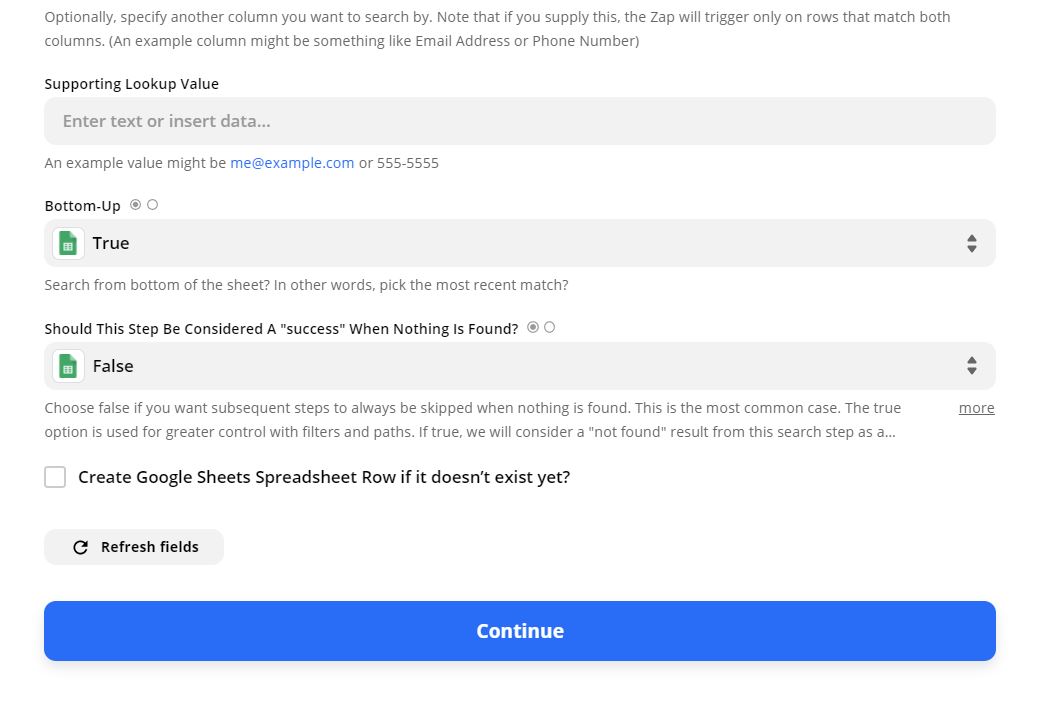
Step 33 - Bottom-up to be marked as True.
*If a phone number is listed more than once, it will use the most recent in the list.
*Should This Step Be Considered a "Success" When Nothing Is Found? To be marked as False.
Step 34 - Test & Continue.

Step 35 - The test will show Successful if the spreadsheet Name and Number columns have data.
*Press + to create the next sequence in this ZAP.

Step 36 - Search apps... and enter Google Sheets.

Step 37 - Select Update Spreadsheet Row from the drop-down menu.
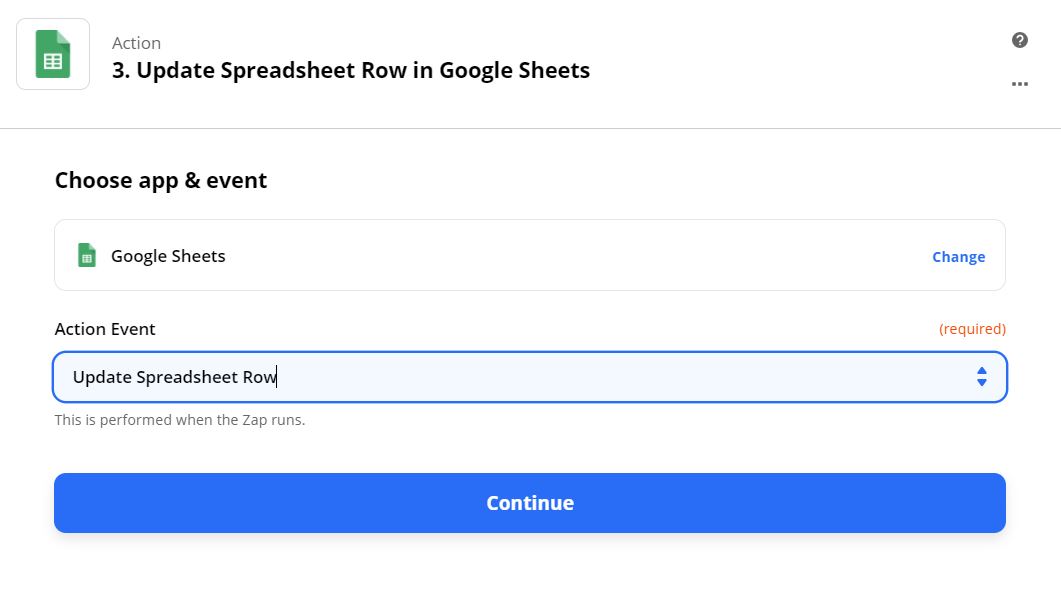
Step 38 - Choose account by clicking the drop-down menu.
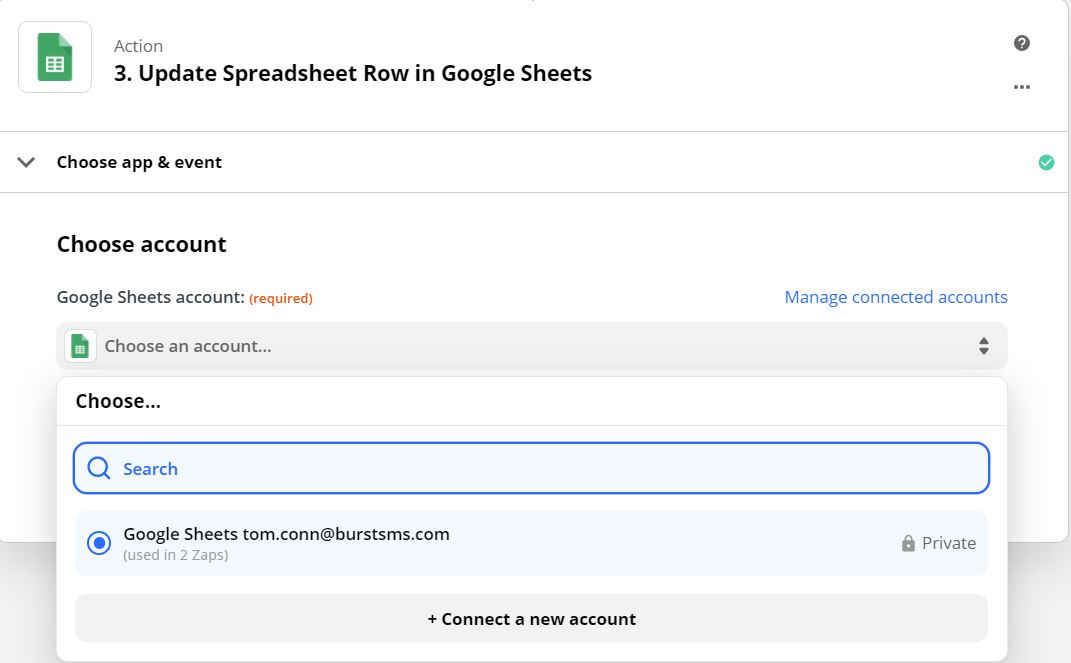
Step 39 - Select your Spreadsheet + Worksheet + Row from the drop-down menus - Custom field.

Step 40 - Once the sheet details have been entered, the named columns will appear (Columns named in Step 10).

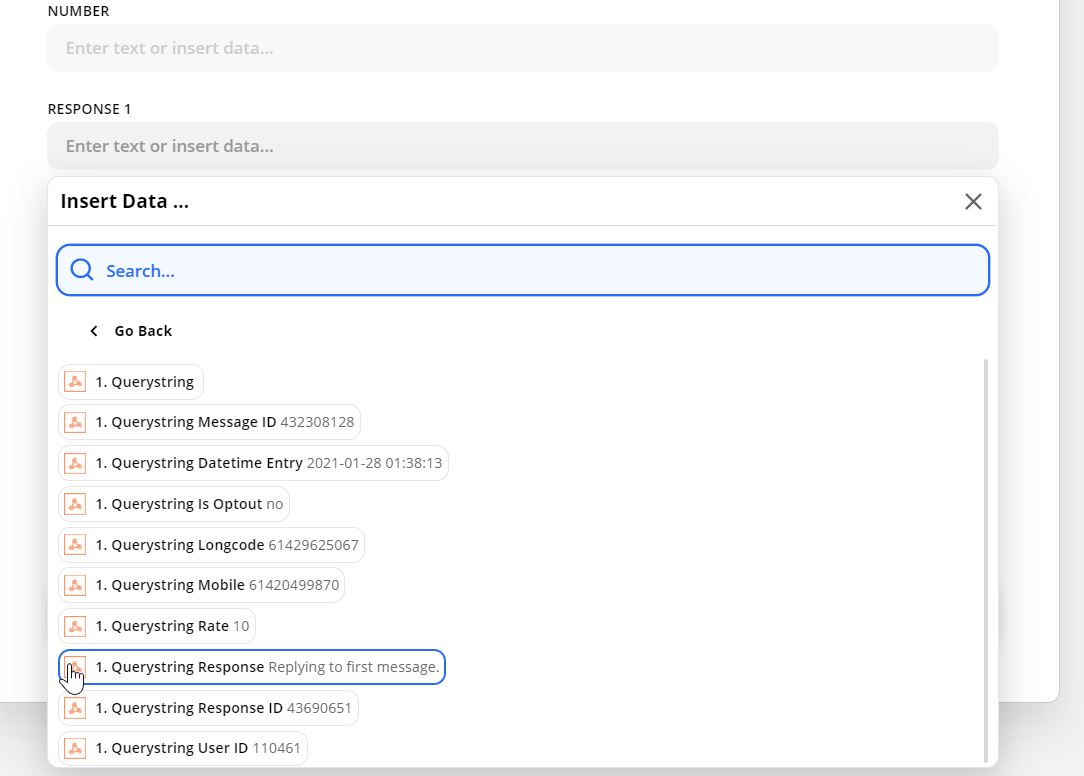
Step 41 - Click into the Response 1 drop-down menu then select Querystring Response.
*As this is ZAP 2, SMS replies from ZAP 1 will be forwarded here.
Step 42 - Test & Continue.

Step 43 - If the test is successful, columns A,B & C will contain data.

Step 44 - Verify the Spreadsheet to confirm it has data from the SMS reply.
Step 55 - Turn on Zap and click the + to create the next sequence.

Step 56 - Search for Burst SMS in Search apps...
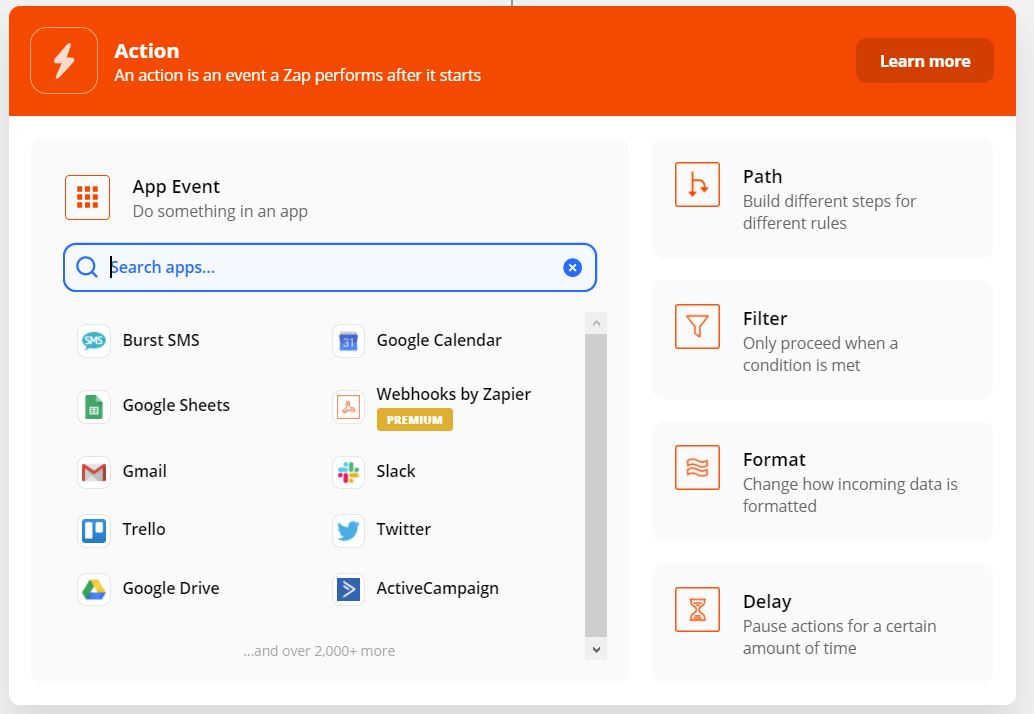
Step 57 - Select Send SMS from the drop-down menu.

Step 58 - Select your account from the Choose an account drop-down menu.

Step 59 - Clicking within the message box will allow you to insert data into the message. To personalize each message, select the option for Lookup Spreadsheet Row in Google Sheets and select Name.
Step 60 - To insert the recipient's mobile number, select Number from the drop-down menu.

Step 61 - Before we test ZAP 2, we need to create ZAP 3 to forward SMS replies.
*Open a new tab in the browser and create a new ZAP (Repeat Step 1 and 2)
Search for apps... for webhook.
Step 62 - Select Catch Hook from the Trigger Event drop-down menu.

Step 63 - The Custom Webhook URL will be generated, this link needs to be copied by clicking the Copy function.
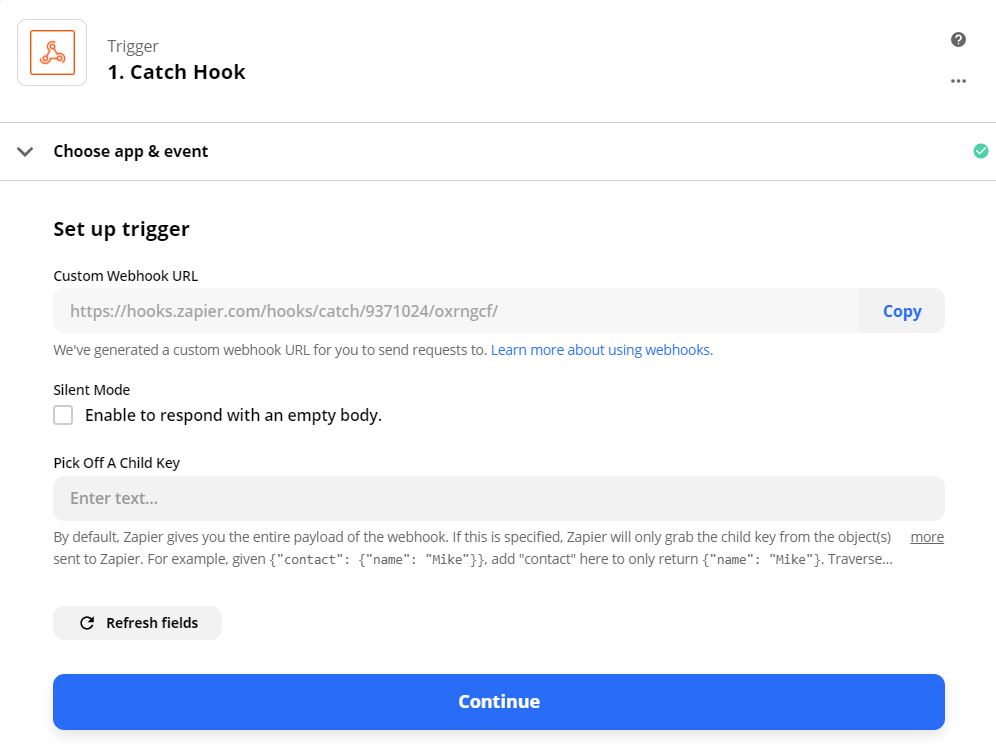
Step 64 - The link copied can now be pasted into ZAP 2 in the Forward Replies to URL field and click Continue.

Step 65 - Test & Continue will be highlighted (ZAP 2).
*If the test is Successful, ZAP 2 is now complete.
