Step 1 - Setup Burst SMS account
To setup your integration you will need a Burst SMS account. You can sign up for a no obligation free trial to test out the integration.
http://usa.transmitsms.com/register (USA)
http://www.burstsms.com.au/register (Australia)
https://nzl.transmitsms.com/register (New Zealand)
https://sgp.transmitsms.com/register (Singapore)
Step 2 - Make a Scenario
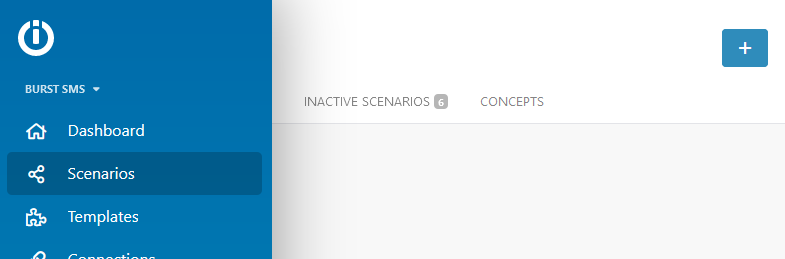
In your Integromat account click on Scenarios from left menu of your account, then the plus button in the top-right
Step 3 - Open the canvas
I will skip the step to choose software and we will choose Gmail in the next screen
Step 4 - Define the trigger
Click the question mark, then search for 'Gmail' and click the Gmail icon, then click the 'Watch Emails' trigger
For this example, we will use a new email in Gmail as the trigger for the scenario
Step 4 - Configure the Trigger
Here is where you can link your Gmail account and define what emails will trigger the scenario.
If you need to link your Gmail account, follow the prompts to login to Gmail and authorise permissions for Integromat.
We will be triggering the scenario for all emails, so we will use the below values and click Ok.

Step 5 - Add the Burst SMS action
Hover your mouse over the Gmail trigger and select Add another module

Search for Burst SMS and select Send SMS
Step 6 - Authorise your Burst SMS account
Follow steps to authorise your Burst SMS account. You will need to enter your API Key and API Secret that you can find from SETTINGS in top menu of your Burst SMS account

Click on Continue button
Step 6 - Configure the SMS
Add your own mobile number, in international format, to the Recipient Mobile Number field.
Configure the SMS message in Message Contents.
When you click some fields, you will notice a list if data pop up. This is data from the Gmail trigger, which we can use to customise the message. When you click one of the data items it will be inserted at your cursor. In the screenshot below, I have added the Email address field to the SMS. When the scenario runs, it will take the email address from the email that has triggered the scenario and automatically add it to the SMS

This is all I need to do for this scenario. Press OK.
Step 7 - Name, Save and turn this Scenario on
Double click on the name in the top-left and give it a descriptive name and press Enter key.

Click the Save button in the footer controls to save the scenario.

Then click the Back arrow, next to the name and click the slider in the top right to configure when the scenario will run.

Click Activate.