Want to automatically send your customers an SMS alert after you create a Xero invoice? Use this Zapier SMS integration to help save you time.
Preparation
Before we dive into this Zapier integration, make sure that you have:
- A Xero account. They offer a 30-day free trial.
- A Burst SMS account. We offer a 14-day free trial.
- A paid Zapier subscription. Zapier offers a 14-day free trial.
Step 1 - Create a new Zap
After you log into Zapier, click on 'Make a Zap!' at the top of your Zapier dashboard.

Step 2 - Choose a Trigger App
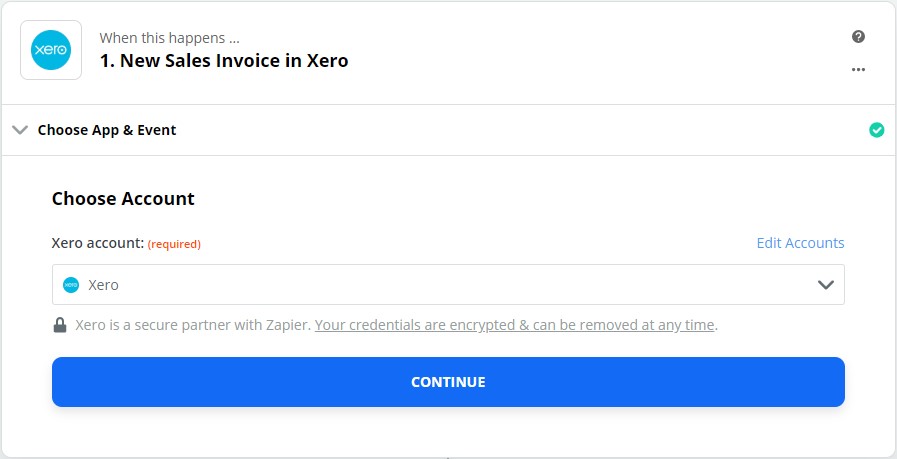
Find and select Xero as the trigger app.
A new field will appear below. Select 'New Sales Invoice'.
Click on the 'Continue' button below to proceed.

Step 3 - Connect Xero to Zapier
If you haven't done so already, connect Xero to Zapier. It will ask you to log in to your Xero account. Once connected, click on the 'Continue' button to proceed.
Next, under the 'Customize Sales Invoice' section, we recommend that you choose the 'Awaiting Payment' status. You can also test other statuses if you wish to do something creative.

Feel free to test the connection or skip the test to move on to the Action app.
Step 4 - Connect Burst SMS to Zapier
Next, you'll configure the action app. Search and select Burst SMS. Choose 'Send SMS', and then click on the 'Continue' button.
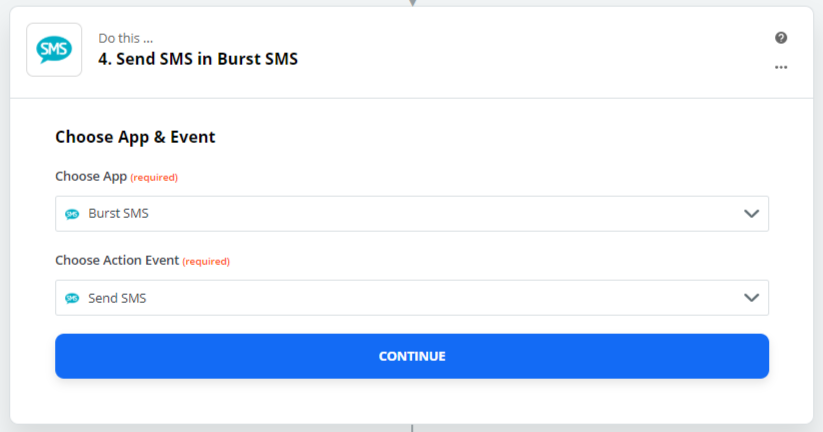
If you haven't connected your Burst SMS account with Zapier, then it will ask you for your Burst SMS API Key and API Secret.
To retrieve your Burst SMS API Key and API Secret, login and go to Settings and scroll down to the API Settings section.
Note: API Secret is like a password. You'll need to type in your own API Secret.
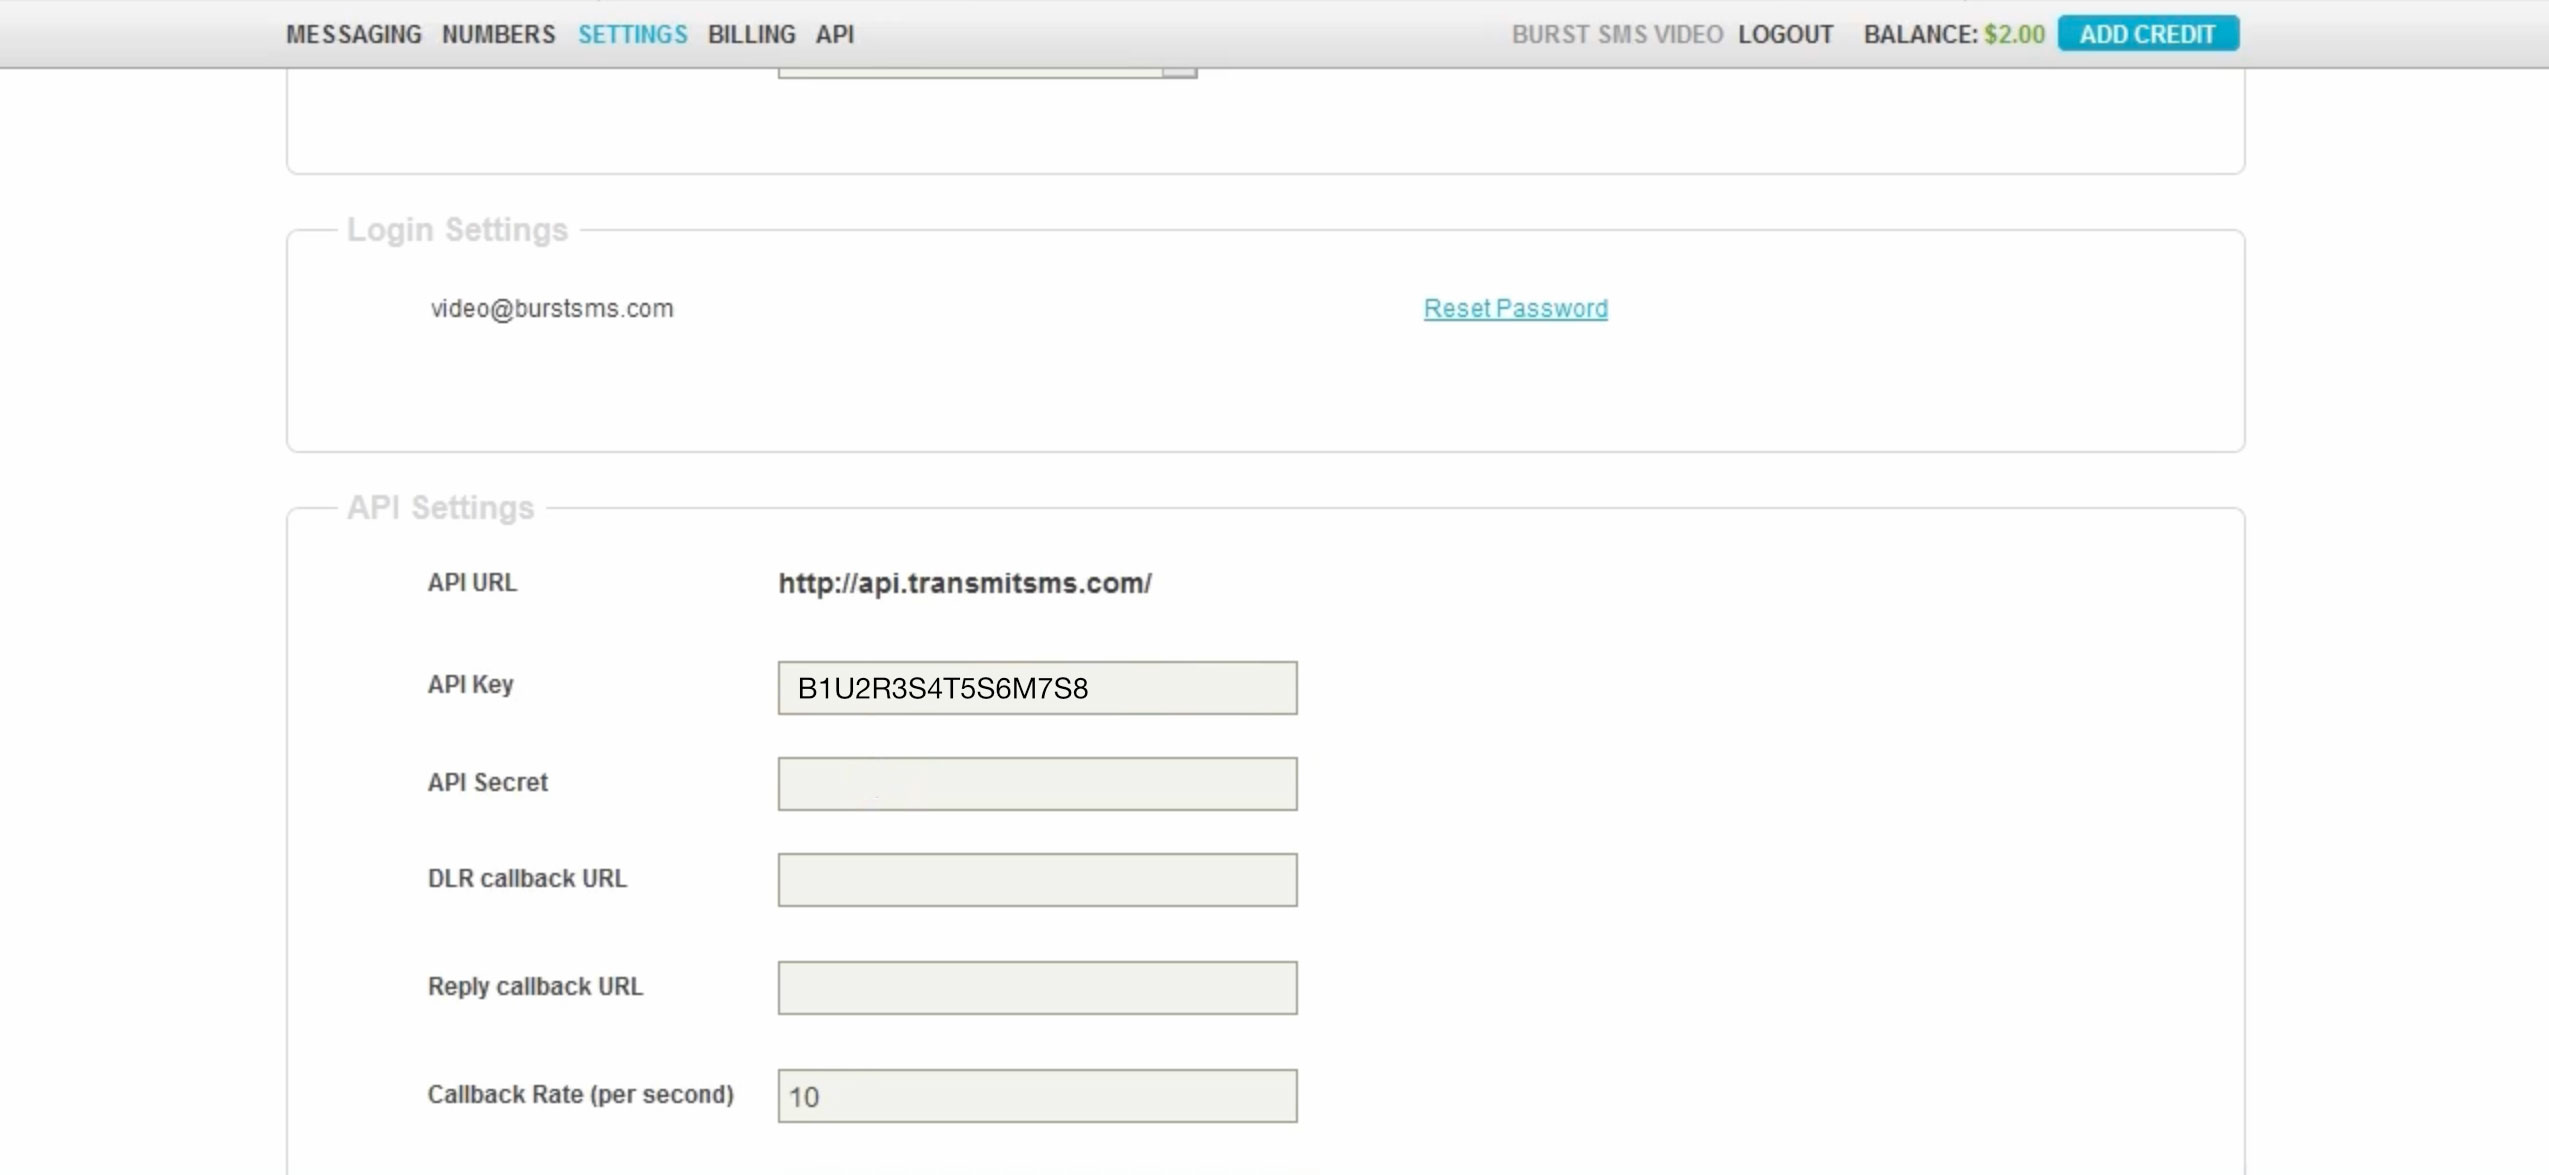
Next, paste your API Key and API Secret in Zapier.

Step 5 - Fill in your fields and compose your message
Next, compose your automated SMS message. To personalise it, click on the hamburger menu at the top right of the 'Message' field for custom variables (ie. first name, owner, organisation name, etc.). You'll see an example of the customer variables we chose, such as 'Contact First Name', 'Invoice Number', and etc.

Under the 'Recipient Mobile Number,' you'll notice that we added 3 custom variables. Xero separates phone numbers by country code, area code, and number. So you need all 3 to help ensure your phone number.
Feel free to make adjustments to the rest of the fields to suit your needs.
Once you're ready and tested the integration, your final step is to turn zap on.
Step 6 - Create an SMS reminder (optional)
Using the same integration, you can add four more steps to create an SMS reminder(s) for your invoice.
First, click on the plus symbol to add a new step. From the App & Event, select 'Delay by Zapier' for App and 'Delay For' for Action Event.

Next, you can select how long you want to delay. In this case, we chose 7 days. You can shorten the delay to a few minutes for testing purposes.
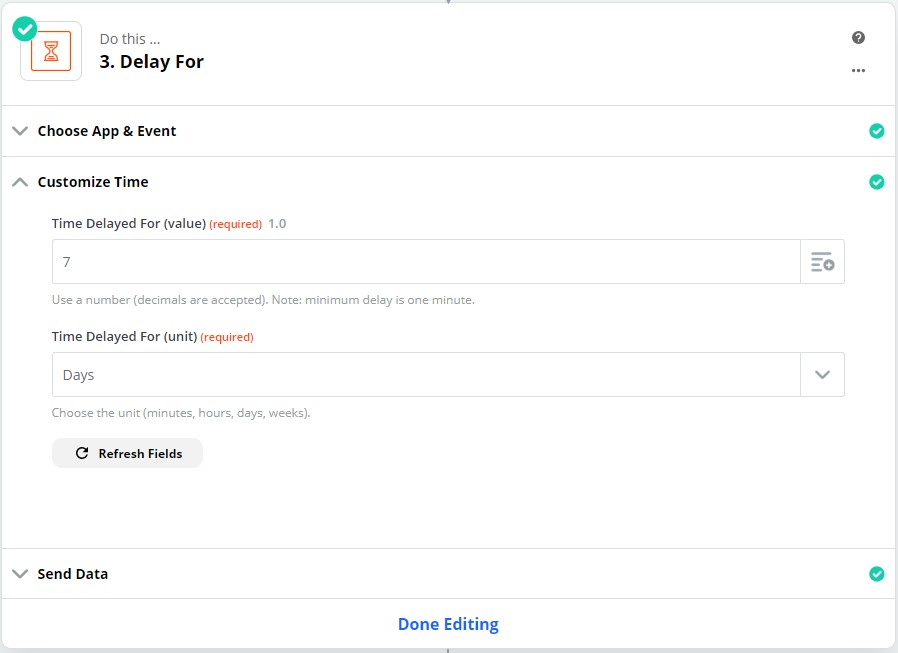
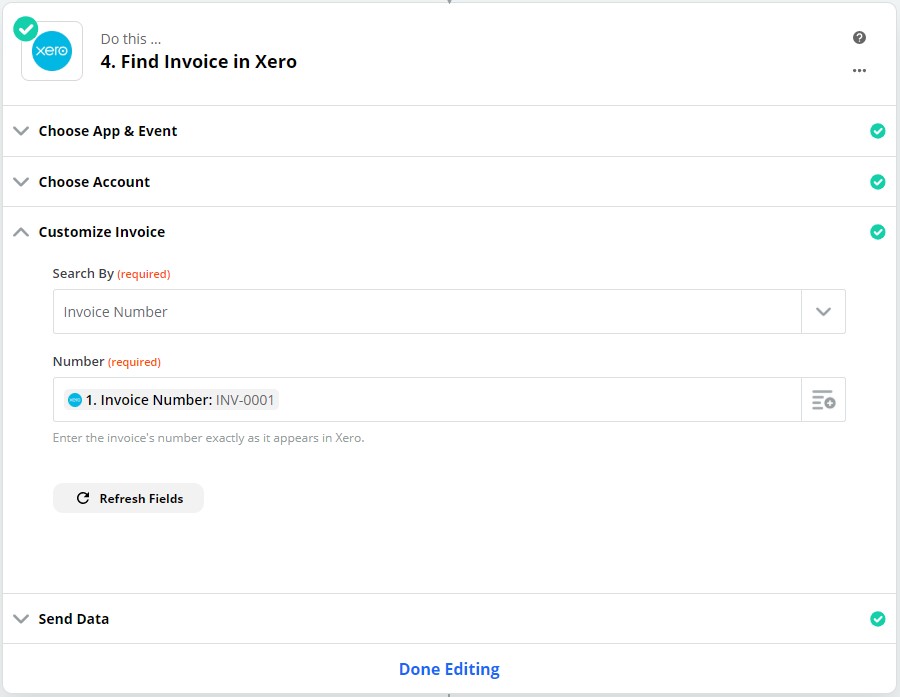
After completing the delay setup, click on the plus symbol to add another step. Choose Xero, and select the 'Find Invoice' action. This helps ensure that Zapier pulls the most updated Invoice data.

Under the 'Customize Invoice' section, select 'Invoice Number' for the 'Search By' field. Then, for the 'Number' field, find the 'Invoice Number' variable from the First Step in Zapier.
Basically, this step gets the Invoice Number that started this automation sequence, then uses that information to pull the most current data from Xero.
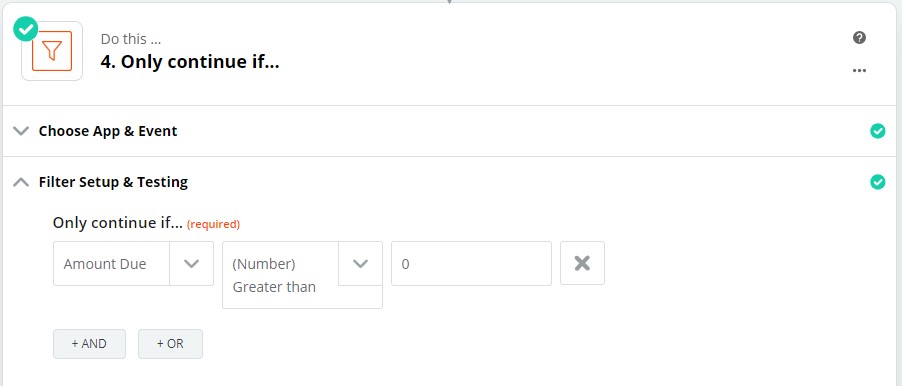
Next, add a new step by clicking the plus symbol. Here, choose Zapier's Filter app. The new invoice data gets passed onto this filter step.

Set up your filter so that it will only continue if the Amount Due is greater than 0. Meaning that this process will continue only if the invoice is still outstanding.
Lastly, you want to add another 'Send SMS' step to complete the reminder setup. You can follow the instructions from Step 5 above.
That’s it! Let us know if you have any questions.

