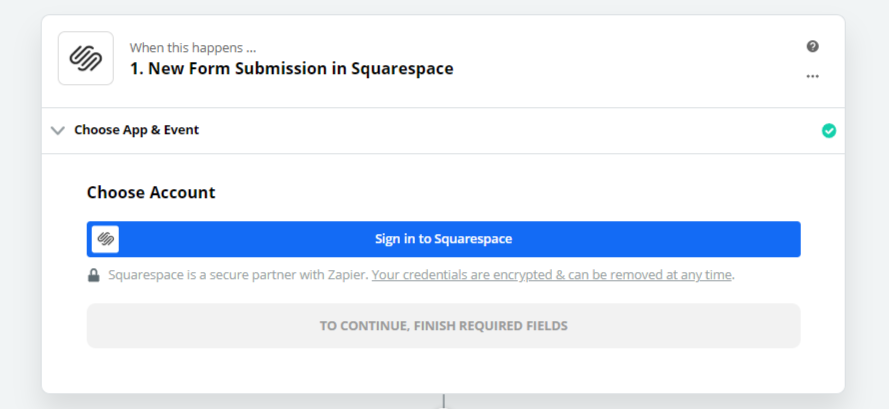
Want to automatically send an SMS message after someone fills out your Squarespace website form? Use this Zapier SMS integration.
Preparation
Before we dive into this Zapier integration, make sure that you have:
- A Squarespace account. They offer a 14-day free trial.
- A Burst SMS account. We offer a 14-day free trial that you can use to test this Zapier SMS integration
Step 1 - Create a new Zap
After you log into Zapier, click on 'Make a Zap!' at the top of your Zapier dashboard.

Step 2 - Choose a Trigger and Action App
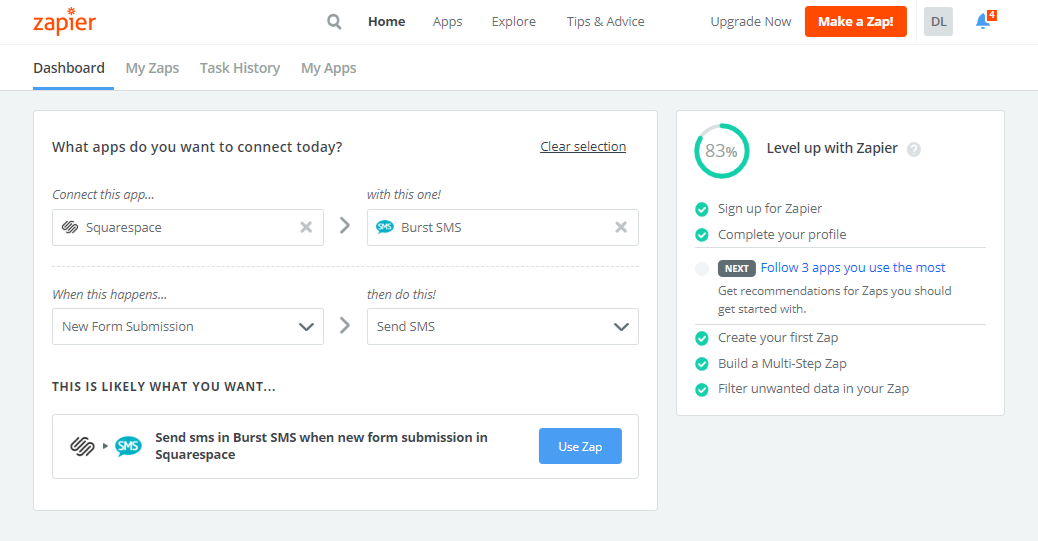
Find and select Squarespace as the trigger app. Next, find Burst SMS as the action app.
New fields will appear below. Select 'New Form Submission' as the trigger and 'Send SMS' as the action.
Click on 'Make a Zap!' button below the fields to continue.
Step 3 - Connect Squarespace to Zapier
If you haven't done so already, connect Squarespace to Zapier. Click 'Sign in to Squarespace'. It will ask you for your Website API Key.
To retrieve your Squarespace Website API Key, login to your Squarespace website and go to Settings > Advanced > Squarespace API Keys. Click Create Key.

Enter a key name of your choice, and choose 'Forms' as the API Key Scope and click next to continue.
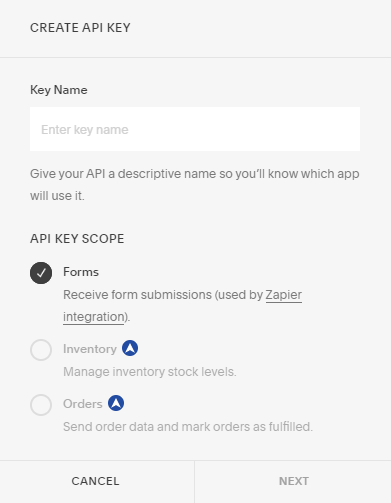
You will receive your API key. Copy and paste your API key in Zapier.

Select the form that you have created from Squarespace in 'Customize Form' and click continue.
Step 4 - Connect Burst SMS to Zapier
If you haven't done so already, connect your Burst SMS account with Zapier. It will ask you for your API Key and API Secret.
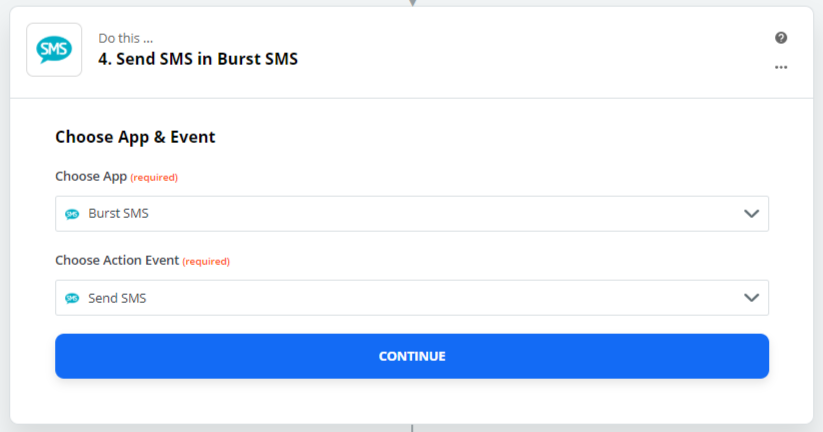
To retrieve your Burst SMS API Key and API Secret, login and go to Settings and scroll down to the API Settings section.
Note: API Secret is like a password. You'll need to type in your own API Secret.
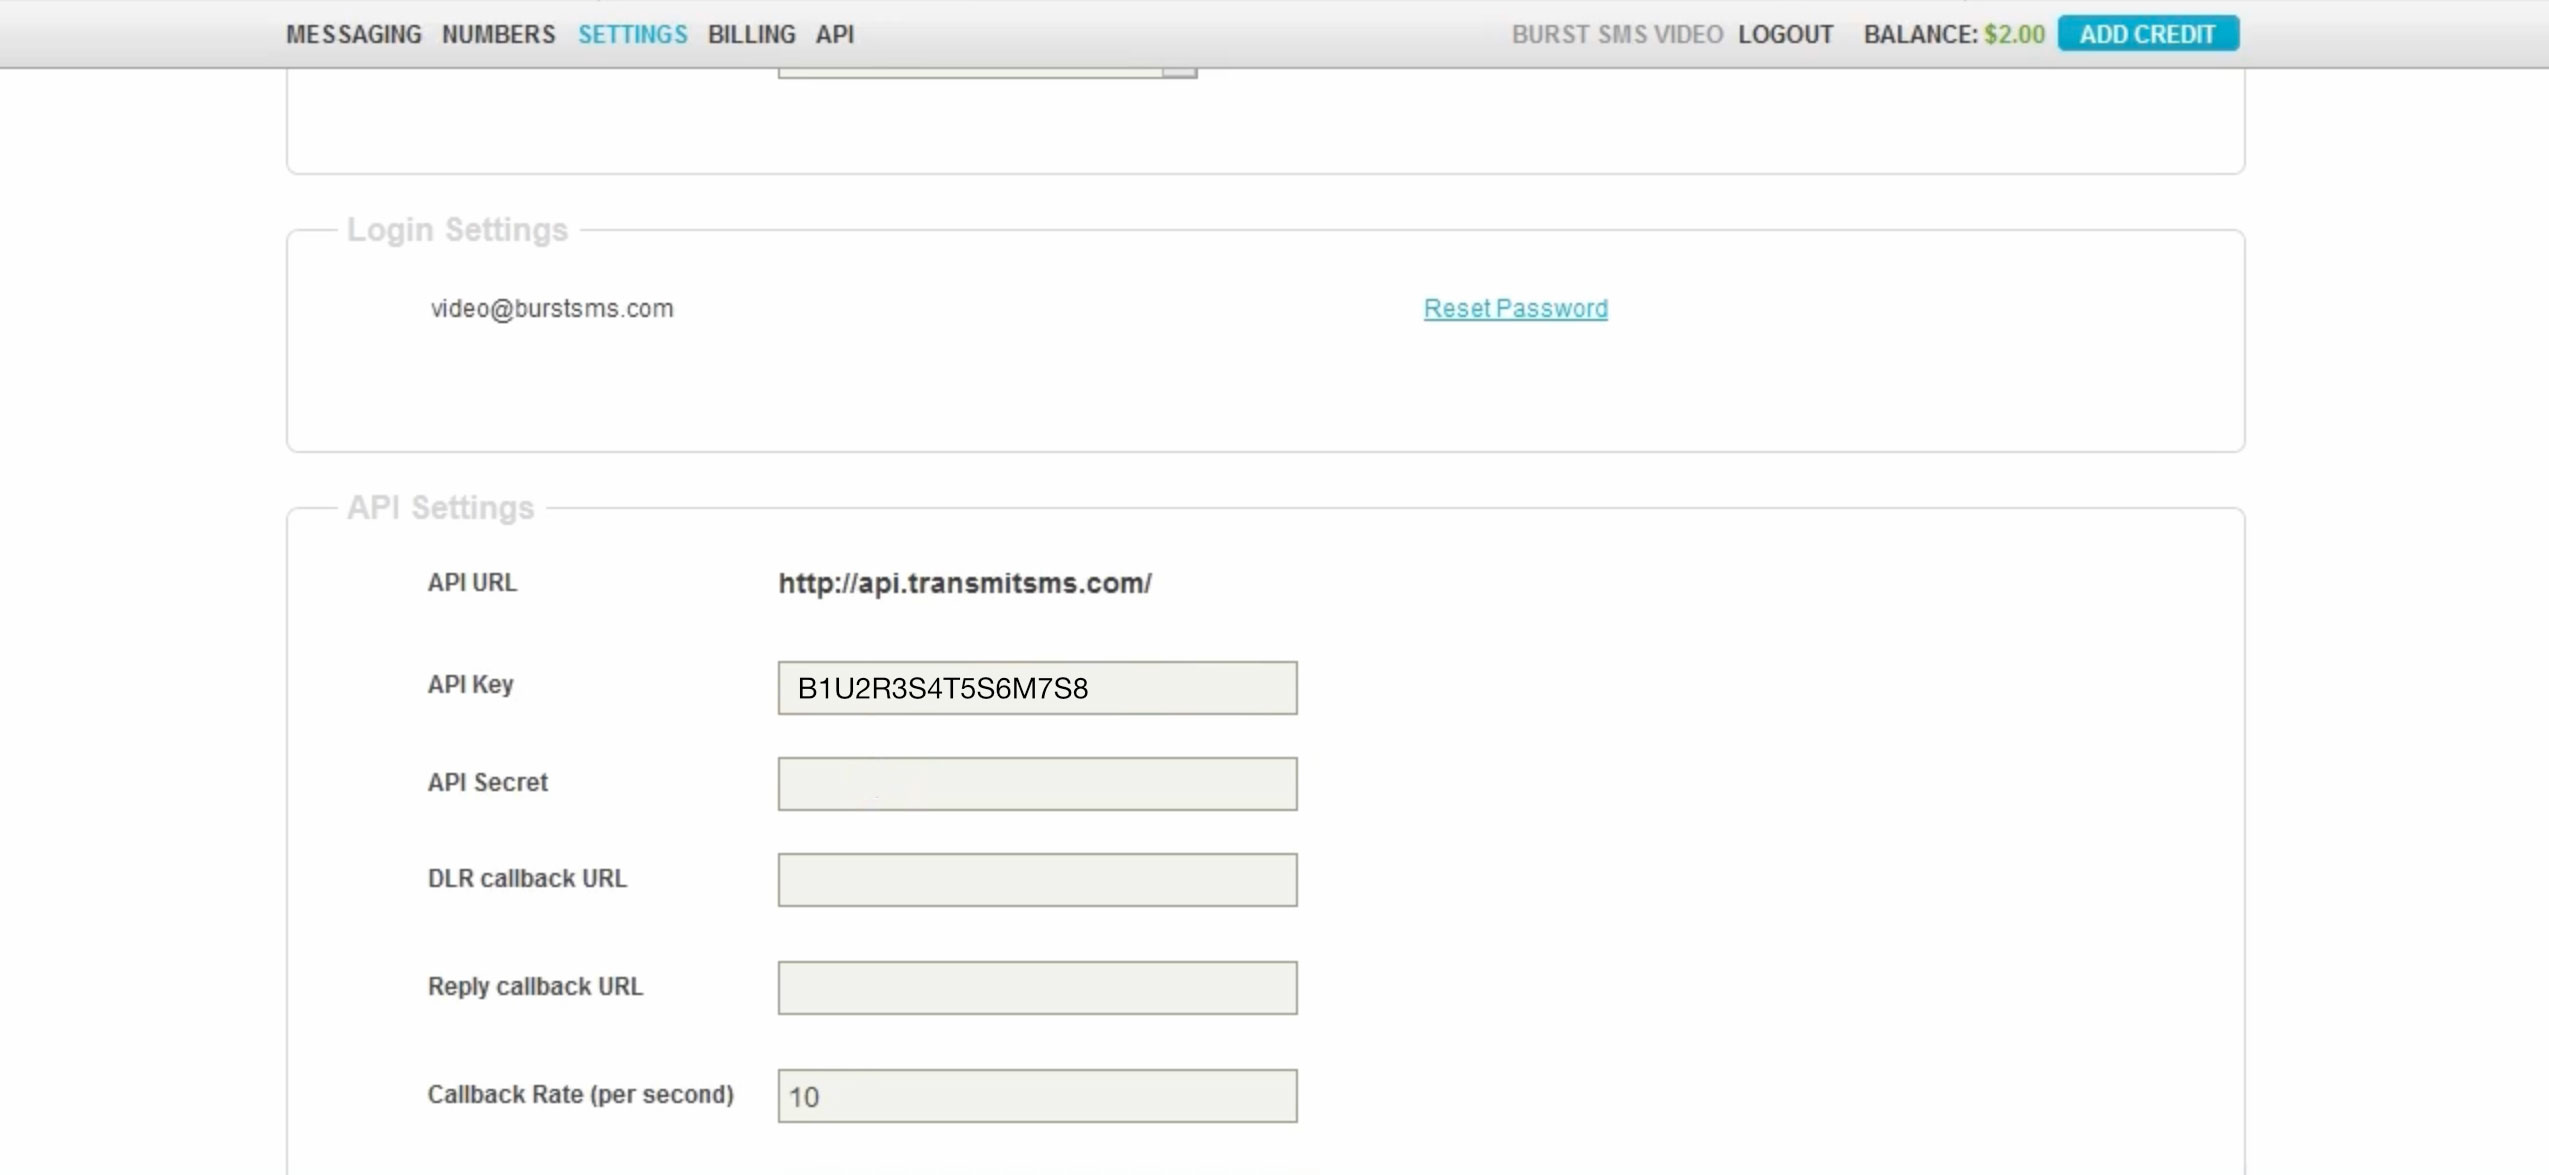
Next, paste your API Key and API Secret in Zapier.

Step 5 - Fill in your fields and compose your message
Next, compose your automated SMS message. To personalise it, click on the hamburger menu at the top right of the 'Message' field for custom variables (ie. first name, owner, organisation name, etc.).
Under the 'Recipient Mobile Number,' ensure to choose the mobile number from the form submission field.

Feel free to make adjustments to the rest of the fields to suit your needs.
Once you're ready and tested the integration, your final step is to turn zap on.
That’s it! Let us know if you have any questions. Click here to get started with the integration.

