Preparation
Before we dive into this Zapier integration, make sure that you have:
A Burst SMS account. We offer a 14-day free trial that you can use to test this Zapier SMS integration
Step 1 - Create a new Zap
After you log into Zapier, click on ‘Make a Zap!’ at the top of your Zapier dashboard.

Step 2 - Choose Google Forms as the Trigger (When This Happens) App
Under "1. When This Happens", find and select Google Forms as the trigger app.

For Trigger Event, select either option depending on your preference, and click continue.

Step 3 - Connect your Google account to Zapier
If you haven’t done so already, connect your Google account to Zapier. Once connected, select the account containing the Google Forms you want to associate this zap with.

Step 4 - Associate the Google Sheet (Spreadsheet) data file
Google Forms store results in a Google Sheet (spreadsheet). You will be associating the spreadsheet with Zapier.
Select the spreadsheet and worksheet as required by Zapier.

Here's a glossary of the fields and its functionalities:
Spreadsheet: The file name of your spreadsheet
Worksheet: The tabs (internal sheets) within the spreadsheet
See below for reference.

Step 5 - Choose Burst SMS as the Action (Do This) App
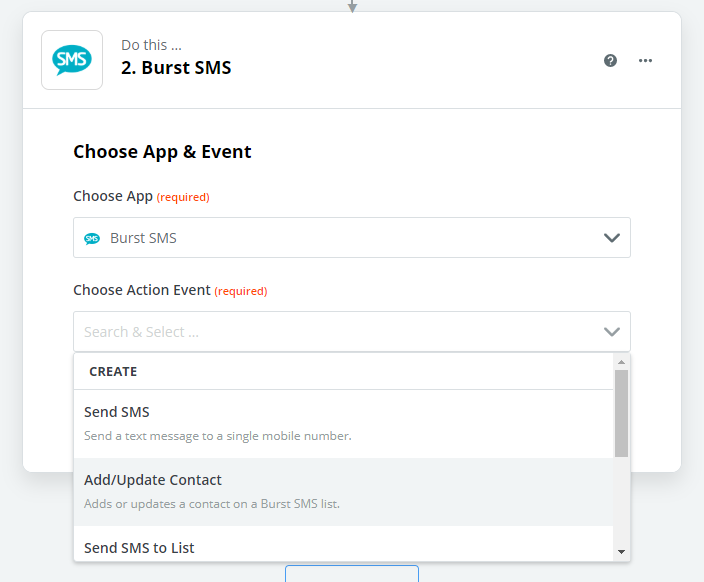
Similar to step 2, find and select Burst SMS as the Action app.
For the Action Event, select Add/Update Contact, and click continue.
Follow the on-screen prompt to connect your Burst SMS account, and click continue.

Step 6 - Customise Import Contacts to Burst SMS
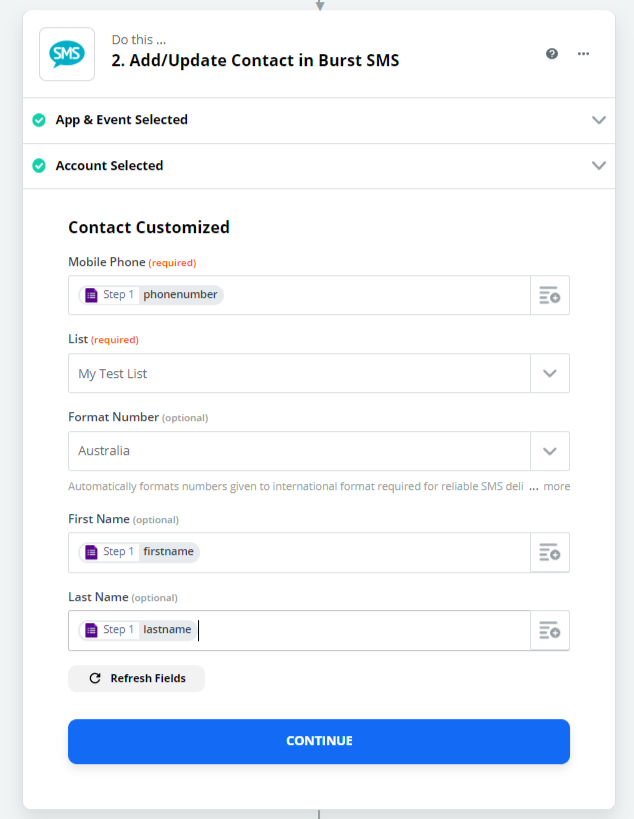
You need to tell Zapier what information it should send and where.
Here's a glossary of the fields and its functionalities:
Mobile Phone: The phone number field collected from Google Sheets
List: The name of your Google Forms
Format Number: Choose the region you want the numbers to automatically convert to
First Name / Last Name: Associate the appropriate field from Google Sheets under the drop down
When complete, your fields should look something like this. Proceed by clicking continue.

Step 7 (Optional) - Create custom filters to only import certain contacts
You can setup custom filters to only import certain contacts from Google Forms. For this to work, you will need to collect additional information on Google Forms, such as method of contact. Let's say you want to import contacts that choose SMS as their method of contact.
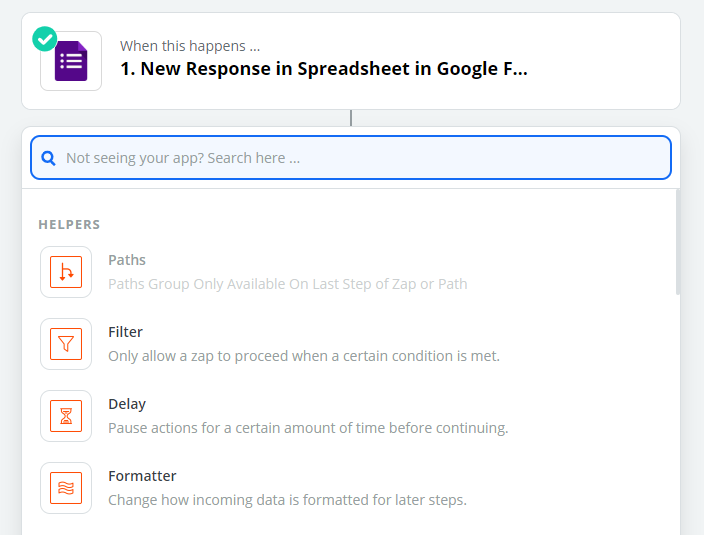
To set this up, click on the plus (+) between the trigger (when this happens) and action (do this).

Select Filter from the Helpers list.

Once selected, create the rule under "only continue if...".
An example of a rule you want to create is: Only continue if preferred contact method (text) contains "SMS"
Step 8 - Test and Enable Zap
We recommend you to test out the zaps with sample data to ensure the automation works to your preference.
Once you are ready to make this live, toggle the zap from off to on by clicking on the button located on the top right region.

When the toggle is on, you are ready to experience and enjoy your new Zapier integration.

